Deploying the Microsoft Azure Ardor Node
Introduction
The Azure Ardor node allows us to launch an Ardor node, and to provision automatically the node database. It uses as an internal component the Ardor Docker image. To complete this tutorial, basic knowledge of Microsoft Azure is desirable. Microsoft has an extensive documentation and learning paths.
How to deploy de Ardor Azure app
The steps to deploy the Azure Ardor node are as follows:
- Create an Azure account
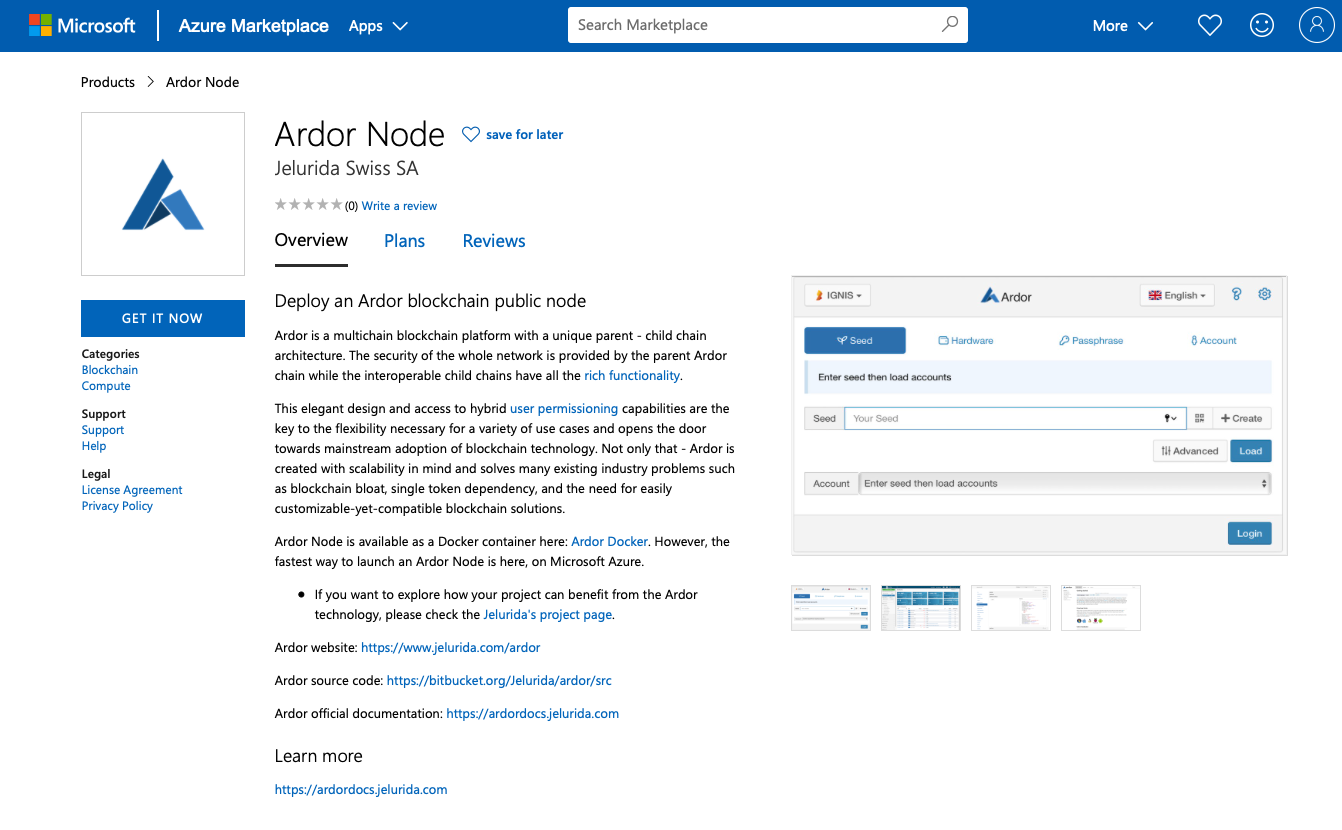
- Open the Azure Marketplace where the Ardor Node is located: Azure Marketplace - Ardor:
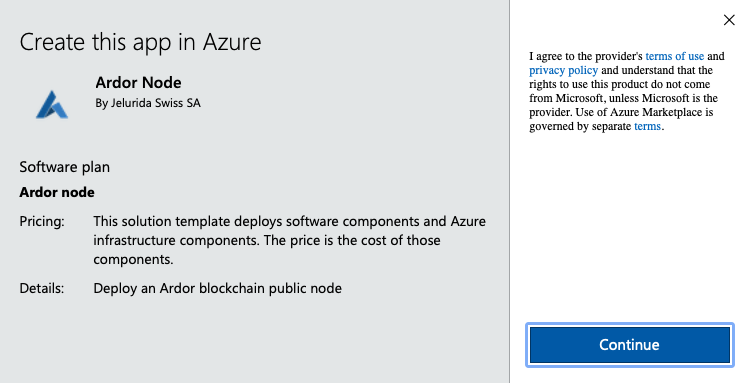
- Once these main steps described above are completed, click on the "Get it now" button, and the following image will pop-up
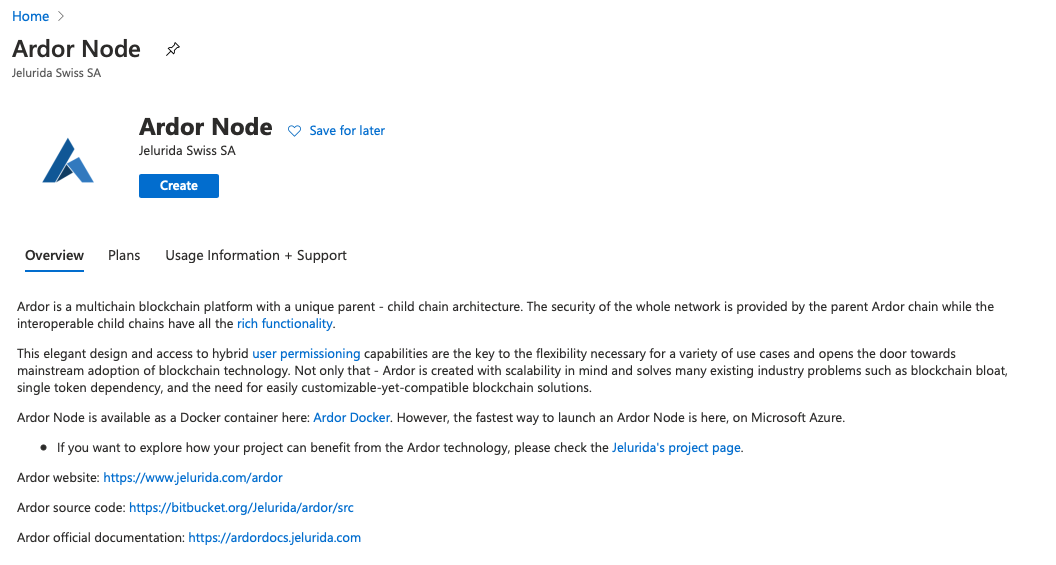
- Afterwards, the image as follows will appear:
Click on the "Create" button:
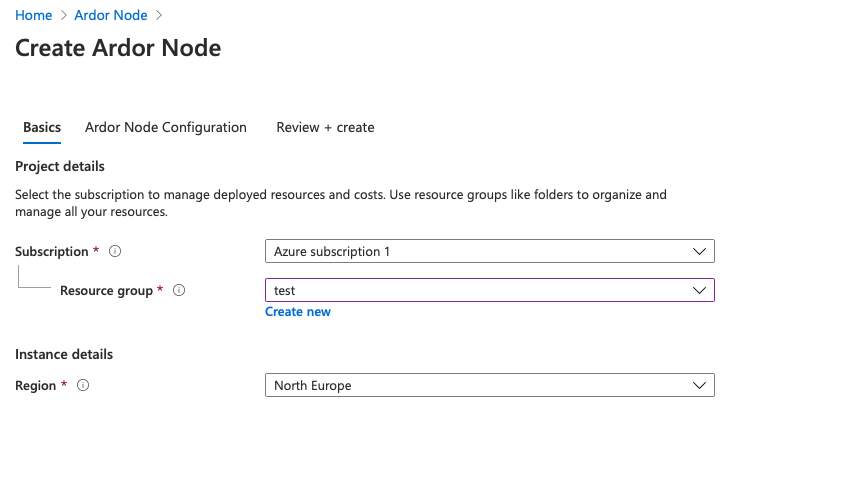
- Configure the Subscription, select or create the Resource group to deploy the Ardor components, and the region where the components will be deployed.
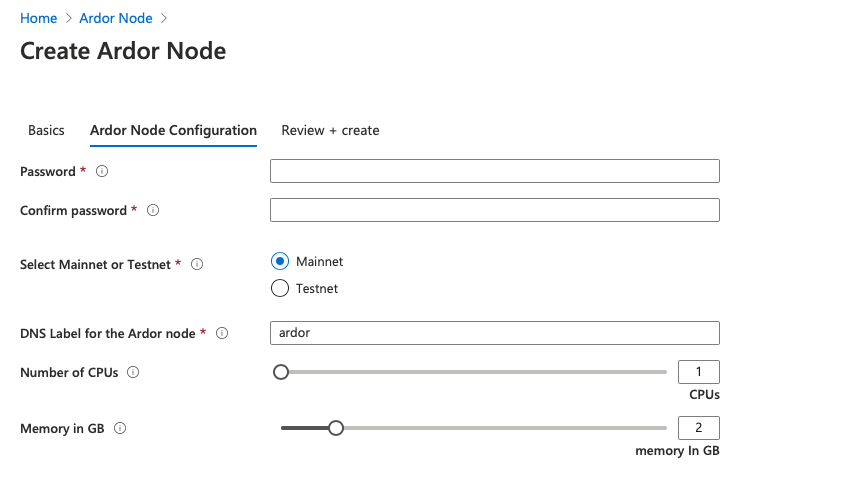
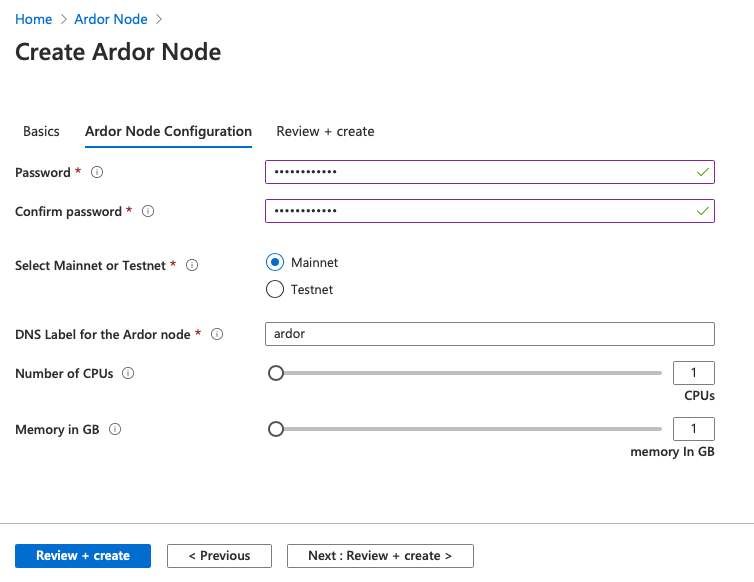
- Provide the Ardor Node Configuration:
- Password: it refers to the Admin Password of the node.
- Confirm Password: it must be the same as the field Password.
- Select Mainnet or Testnet: mark the option Mainnet for an Ardor mainnet node, or Testnet for an Ardor testnet node.
- DNS Label for the Ardor node: The Azure fully qualified domain name will be formed by the DNS label plus the container location. For instance, the DNS 'Ardor' deployed in the 'Northern Europe' region will be: ardor.northeurope.azurecontainer.io
- Number of CPUs: 1 CPU is enough to run the Ardor node, this value can be increased in case parallelism is required
- Memory in GB: 1 GB is enough to run the Ardor node, this value can be increased if needed, for instance when forging with a large amount of ARDR tokens.
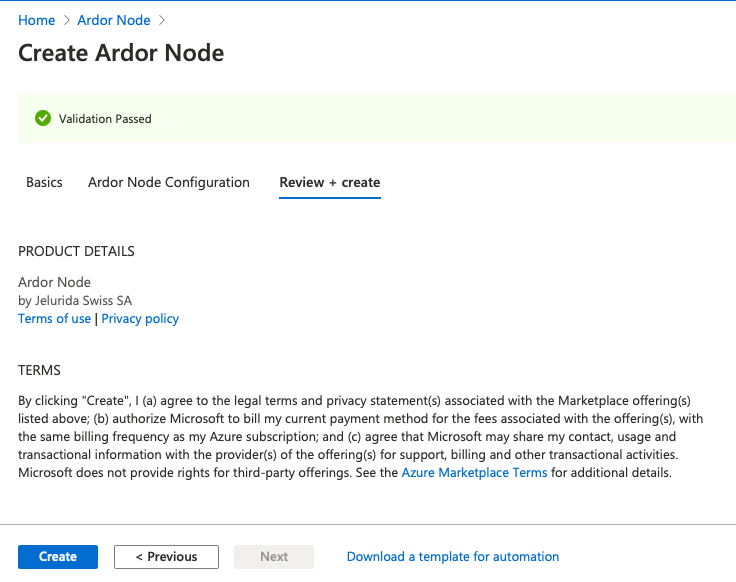
- Review + create. Click on the "Create" button, as shown below:
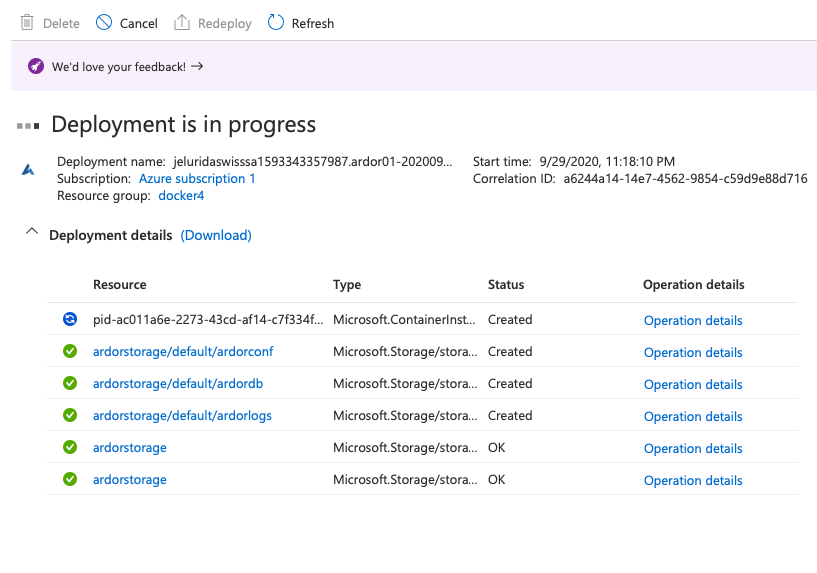
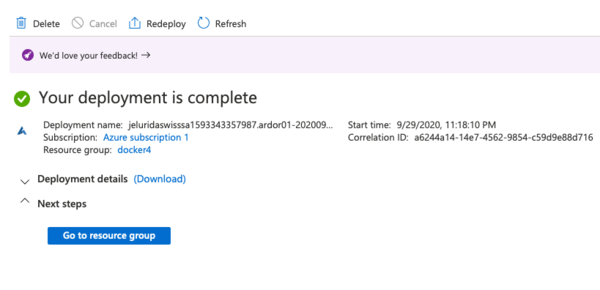
Once clicked, the deployment will start:
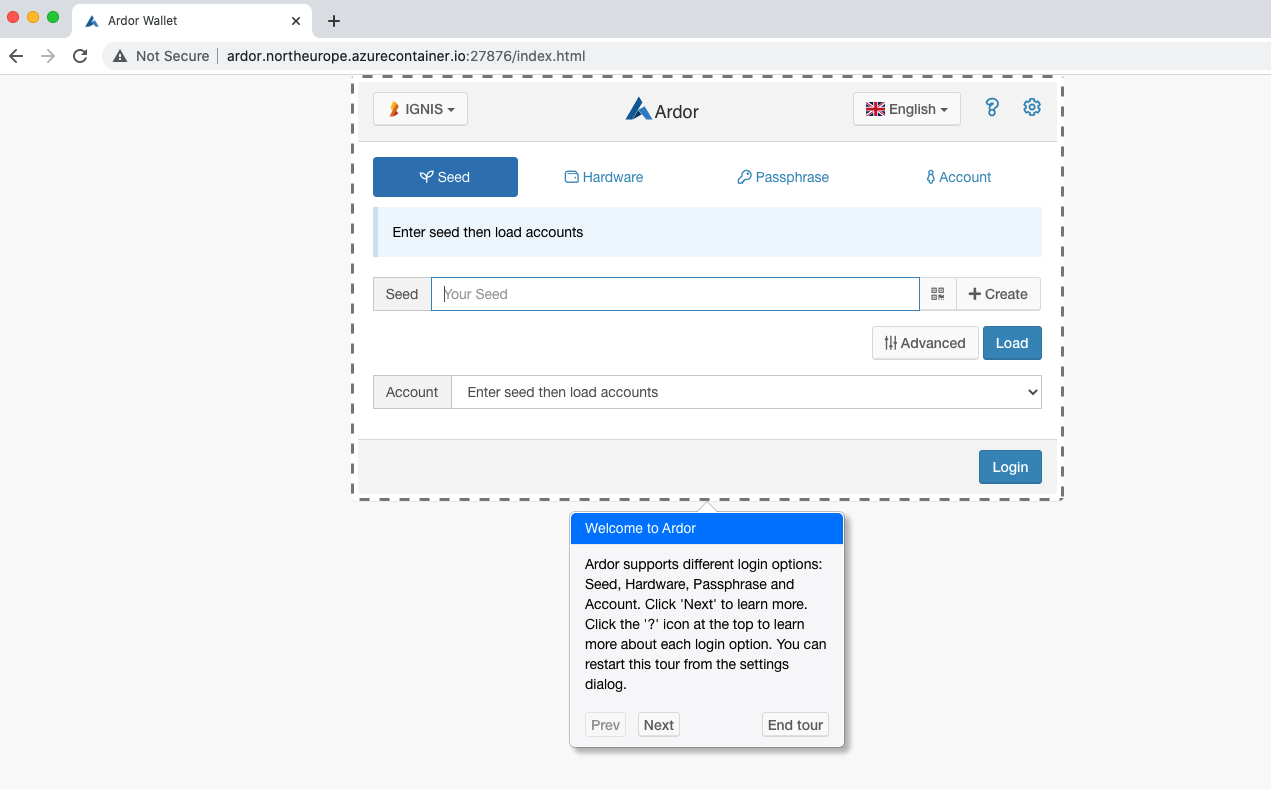
The first execution takes slightly more time due to the provisioning of the node. When all these steps are completed, the node is ready to be accessed:
Walk-through of the components deployed
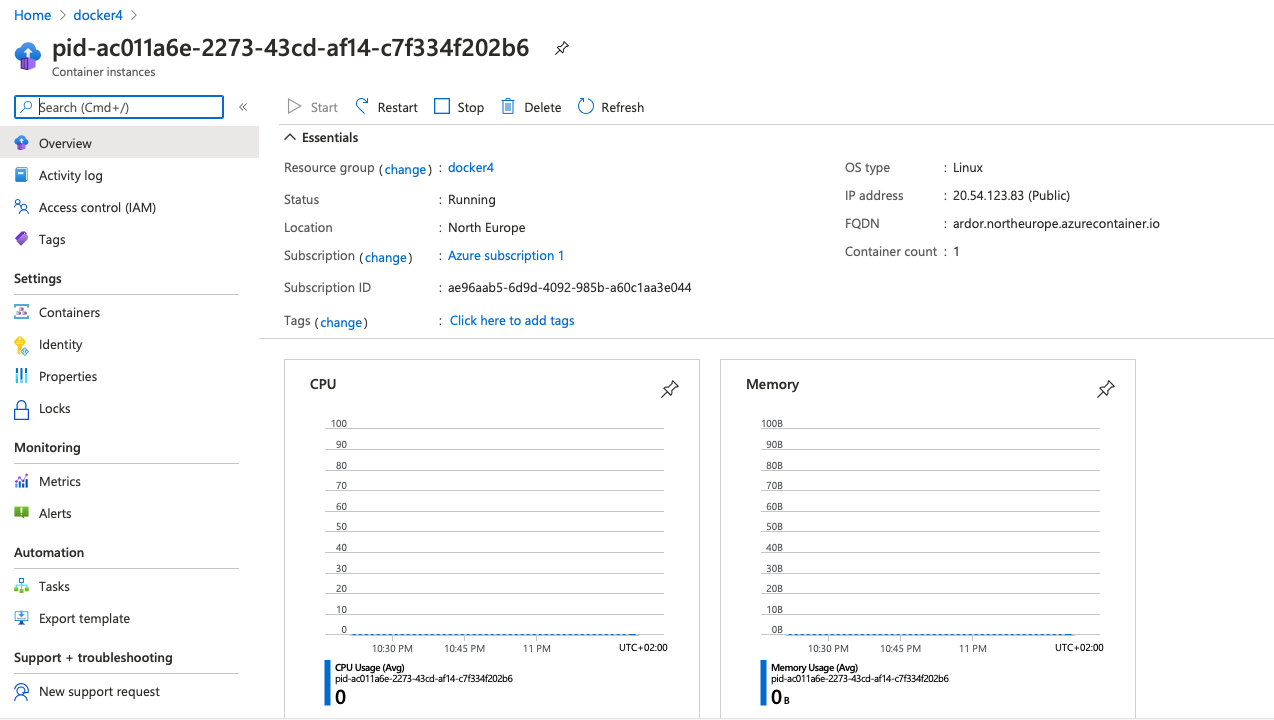
The docker container and the storage account can be accessed through the resource group:
Container
Costs
The pricing is the cost of the deployed components which are:
- A docker container. The pricing is explained in the link as follows: Container costs
- A storage account, that will have 3 File Shares once created. Storage costs.
How to change Ardor parameters after the deployment
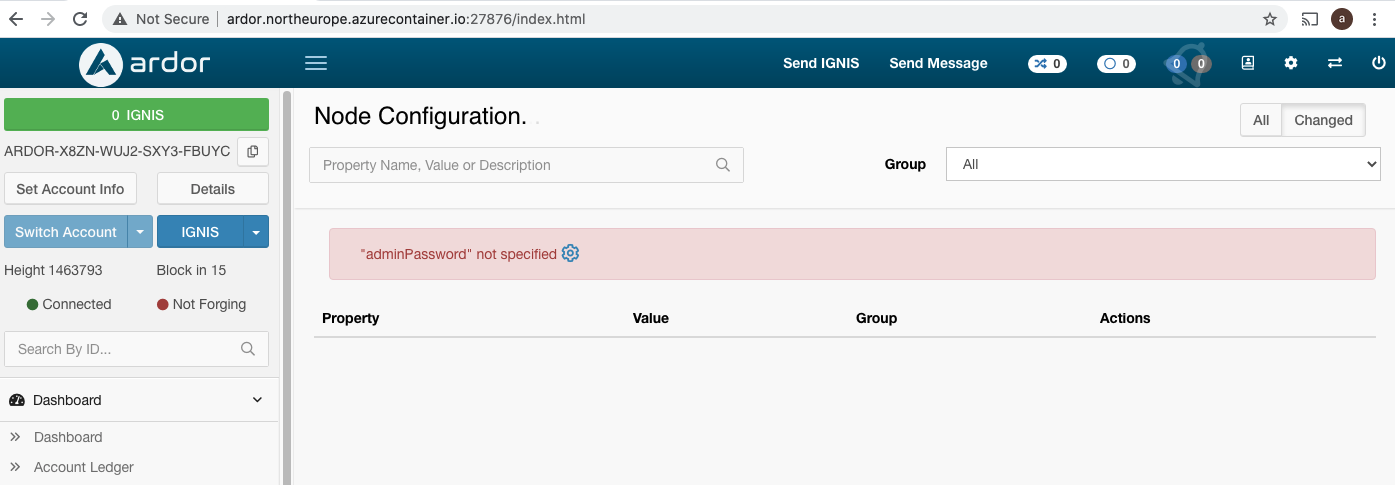
The docker container internal files are not accessible, hence you can either change the nxt.properties file by accessing to the file shared 'ardorconf' and editing the file directly, or by using the Node Configuration as shown as follows:
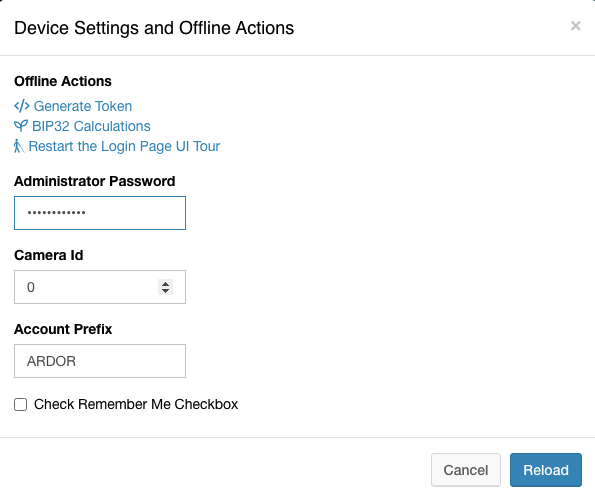
First, you have to provide the admin password:
Log in again, and the parameters will be available to be modified:
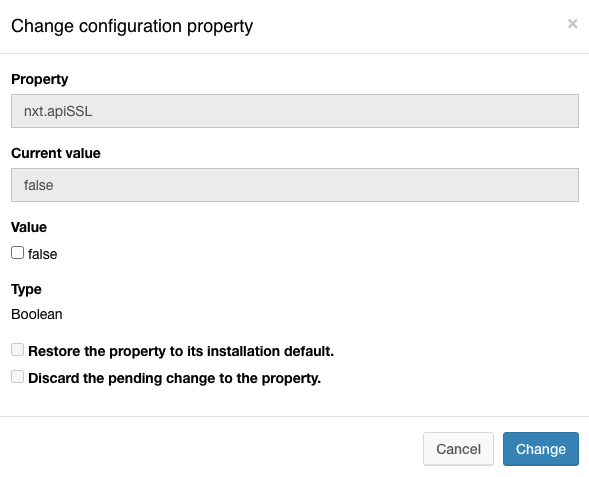
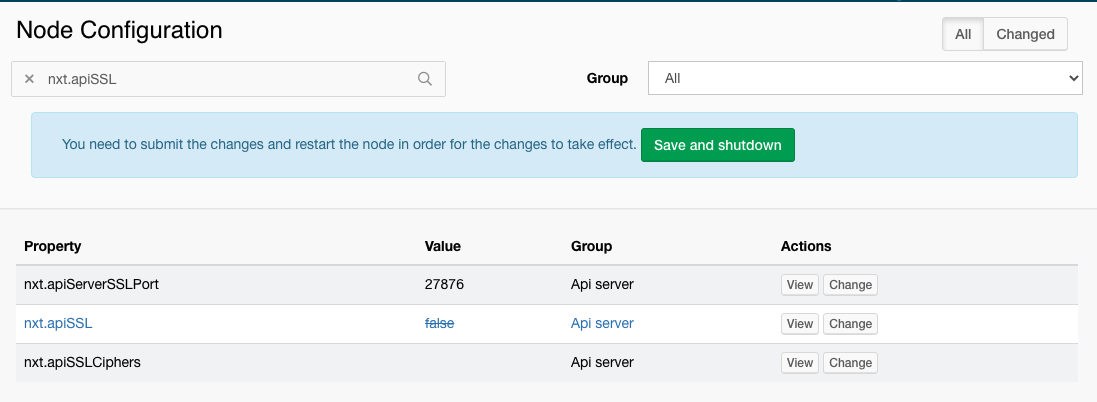
For instance, to modify the nxt.apiSSL parameter, select it and click on change:
After the modification, a restart of the node is needed. Click on the "Save and Shutdown" button:
The final step is to execute again the container:

