Ledger Nano S를 Ardor 지갑에 연결하기
The Ardor blockchain platform has released an application for the Ledger Nano S/X connection. It is directly supported in the desktop wallet or can be connected through all browsers that support WebUSB.
Ledger 장치에 Ardor 앱을 설치 하시면 Ardor 및 차일드 체인 토큰들을 Ardor 데스크탑 지갑을 통해 관리 하실 수 있습니다. 이 Ardor 앱은 Ardor 코어팀에서 개발 및 지원 되고 있습니다.
Requirements
The desktop wallet connects natively to the Ledger device using USB. It is supported on Linux, macOS and Windows.
The browser wallet talks to the Ledger device using WebUSB. The supported browsers are Chrome, Brave, Edge and Opera. We have also been able to connect from Chrome Mobile on Android using an OTG cable.
WebUSB only works under HTTPs, so if you plan to use it HTTPs connection support is required.
단계별 가이드
시작 하시기 전에
- Ledger Nano X
- You've initialized your Ledger Nano X.
- The latest firmware is installed.
- Ledger Live is ready to use.
Ardor app 설치
- Ledger Live에서 관리자(Manager)를 실행합니다.
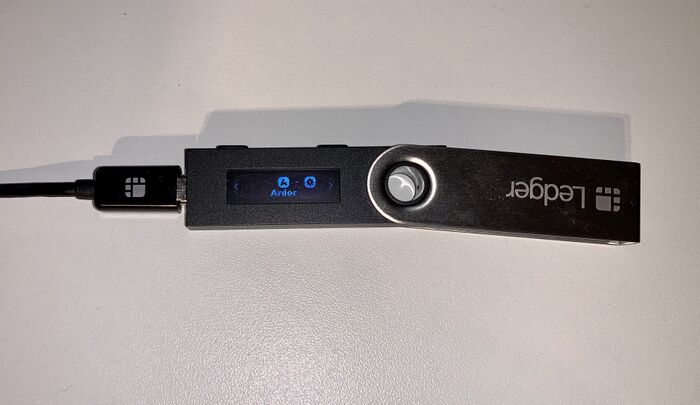
- Ledger Nano S를 연결 한 후 잠금 해제(Unlock) 합니다.
- 관리자 허용 요청을 받으면, 장치의 오른쪽 버튼을 눌러 허가 합니다.
- 앱 카탈로그에서 Ardor를 검색 합니다.
- App의 설치 버튼을 누릅니다.
- 설치 윈도우가 나타납니다.
- Processing…(처리중)이라는 글짜가 화면에 나타납니다
- 앱 설치 여부가 최종 확인됩니다.
장치를 Ardor 지갑에 연동
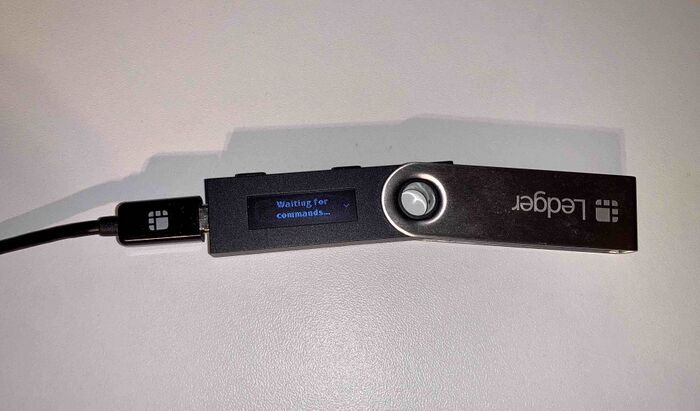
- Ledger 장치에서 Ardor 앱을 실행하게 되면, 화면에 "Waiting for commands..."라고 표시 됩니다.
Press both buttons and the screen will display "Application is ready".
- 방금 다운로드한 파일을 실행하여 Ardor 데스크탑 지갑을 설치 합니다. 필요한 경우 설치 가이드를 참조 하십시오. Ardor 지갑 설치
- Ardor 데스크탑 지갑을 실행합니다.
- "Returning user"를 클릭 하십시오.
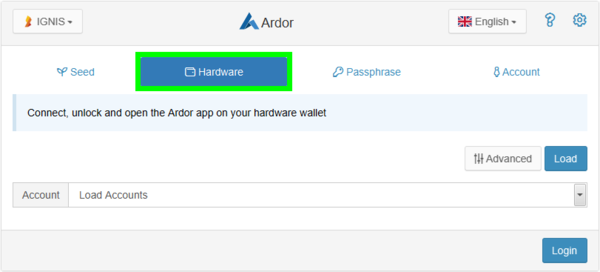
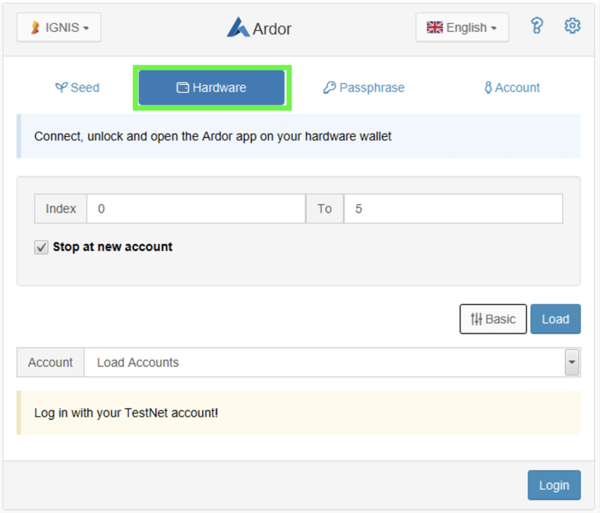
- 다음 그림에 보이는 것처럼 '"Ledger Wallet"아이콘을 선택하고, "Select an Account to Login with"(로그인 할 계정을 선택 하십시오)를 누르십시오
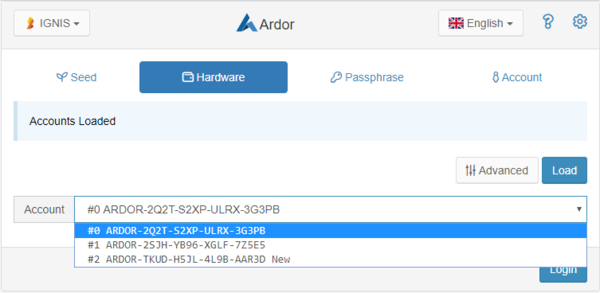
- 접근 하고자 하는 계정을 선택 하십시오. "New"(신규) 속성으로 표시되는 주소는 계정이 아직 블록체인에 게시 되지 않음을 의미합니다. 계정의 퍼블릭키를 공개 할 때마다 새로운 계정을 만들 수 있습니다. "Advanced"(고급) 토글에는 파생 계정을 표시하기 위한 추가 옵션이 표시됩니다.
The advanced toggle shows more options for showing the derived accounts. By default, the wallet queries from the first account (index 0) until it finds the first unused account or reaches the sixth account (index 5). You can use the index bound fields, and the "Stop at new account" checkbox to control this behaviour and load any possible account from your hardware device.
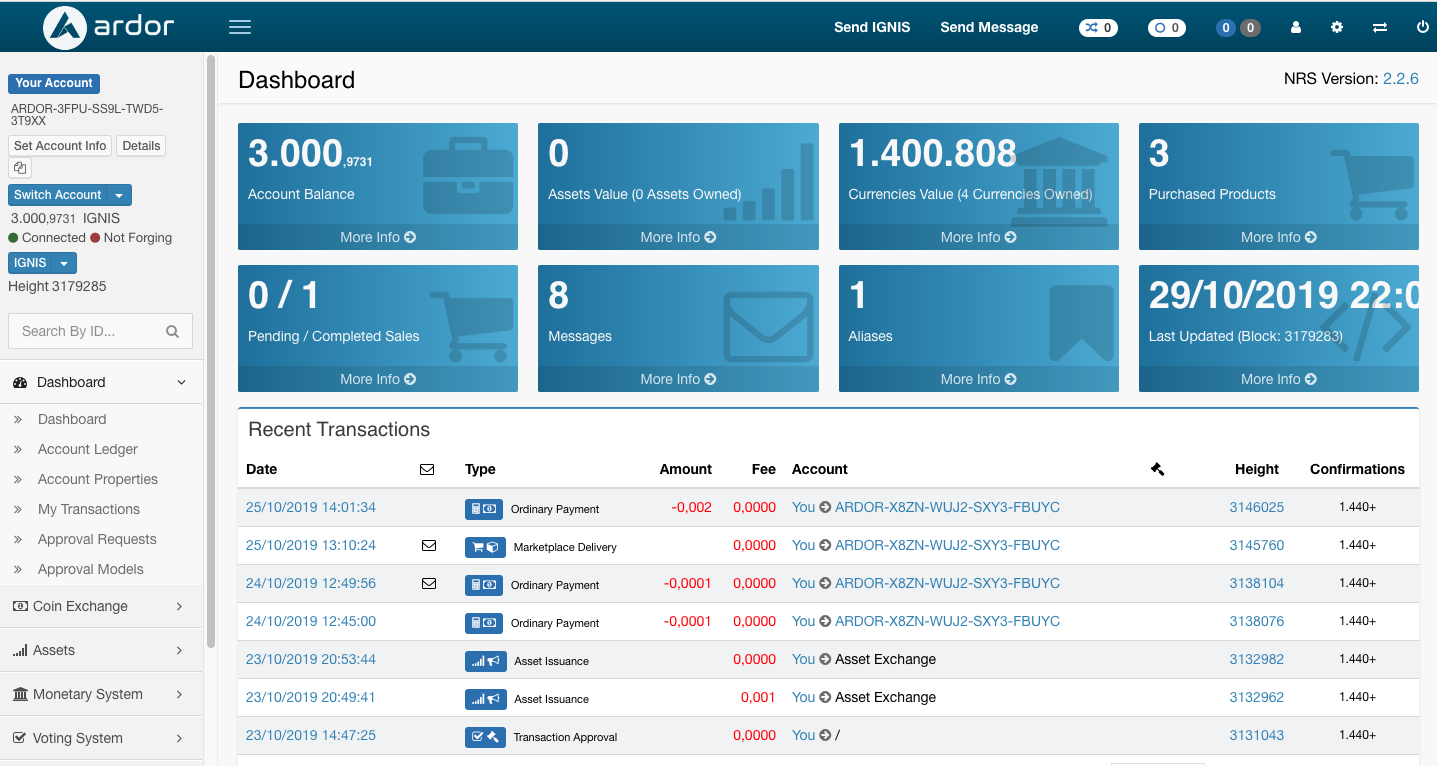
- 이제 Ardor wallet에 엑세스 할 수 있습니다.
Use the Ardor wallet
주소 검증
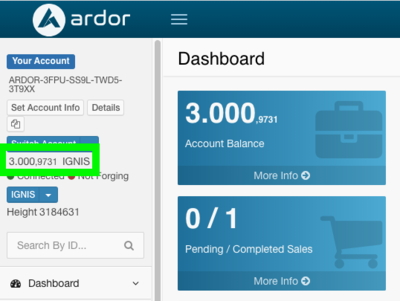
Ardor 지갑에 귀하의 주소가 표시됩니다. 이 주소를 사용하여 ARDR, 차일드 체인 코인(예: IGNIS) 및 다른 자산들을 입금 할 수 있습니다. 뿐만 아니라 메시지 전송, 승인, 자산 발행, 매수매도 주문 등 모든 유형의 트랜잭션 발생시 사용 할 수 있습니다.
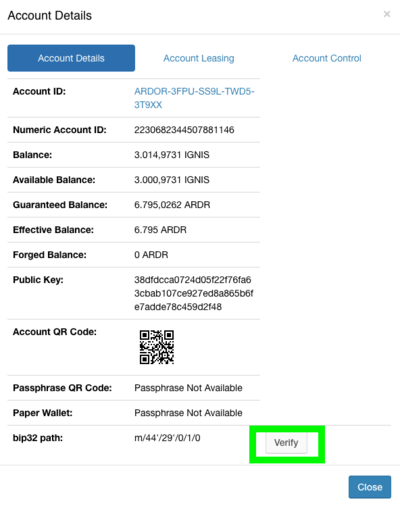
Ledger 지갑으로 주소를 확인하려면, 지갑에서 다음 링크를 클릭 하십시오(녹색):
"Verify" 팝업이 나타나면, 클릭 하십시오 :
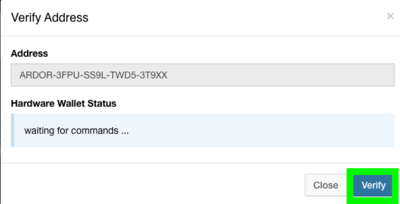
"Verify Address"이 나타납니다 :
"Verify"를 누르면, 주소가 Ledger에 표시 됩니다 :
토큰 전송
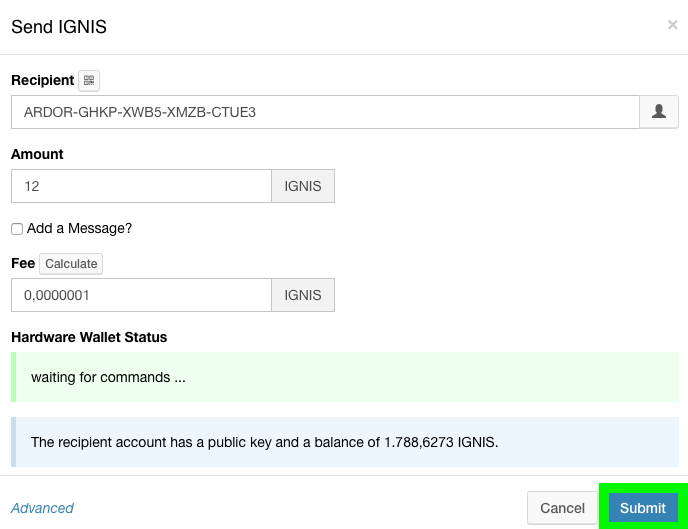
토큰을 보내려면 "Send" 버튼을 누른다음, 수량, 수신 주소, 수수료 계산을 클릭하고 "Submit" 버튼을 누릅니다 :
- 트렌젝션 세부사항을 확인하고 "Confirm"을 누릅니다. :
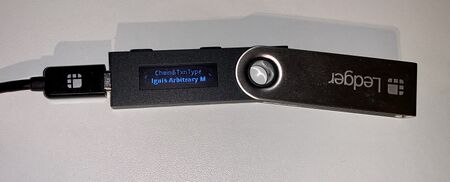
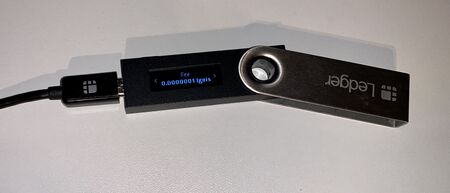
- 거래 세부정보(예: 체인&트랜잭션 유형, 수량, 수수료, 기타정보) 확인이 필요 하실 경우 장치에서 오른쪽 버튼을 누르시면, 아래와 같은 그림이 나타납니다 :
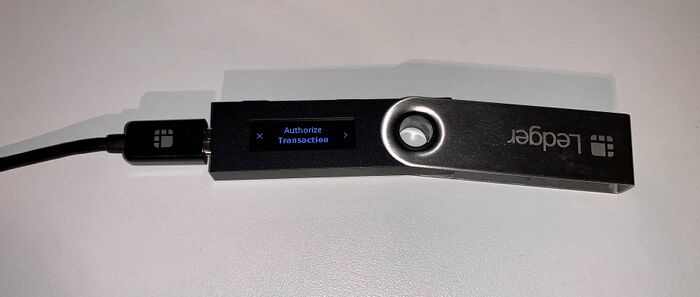
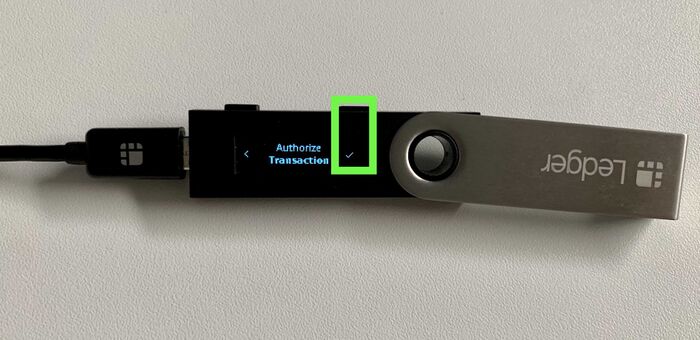
- 마지막 트랜잭션 세부내역에서 오른쪽 버튼을 클릭하시면 트랜잭션에 서명 하실 수 있습니다.
트랜잭션에 기타 정보가 있는 경우, 각각의 정보들은 2의 제곱수로된 숫자로 표시되며, 리스트는 다음과 같습니다.
- MessageAppendix = 1
- EncryptedMessageAppendix = 2
- EncryptToSelfMessageAppendix = 4
- PrunablePlainMessageAppendix = 8
- PrunableEncryptedMessageAppendix = 16
- PublicKeyAnnouncementAppendix = 32
- PhasingAppendix = 64
이러한 기타정보들이 16진수 형식으로 조합되어 표시됩니다. 예를 들어 :
- 트랜잭션에PrunableEncryptedMessageAppendix와 PhasingAppendix가 있는 경우, Ledger에 표시되는 값은 0x00000050(16 + 64 = 80 16진수)가 됩니다 .
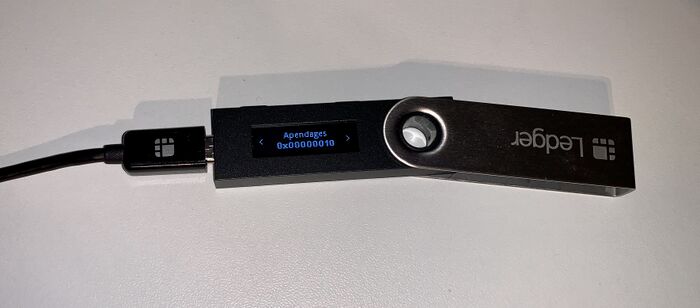
- 트랜잭션에 PrunableEncryptedMessageAppendix가 있는 경우, Ledger에 표시되는 값은 0x00000010(16)이 되어 아래 그림 처럼 표시됩니다 :
Ledger Nano S에서 트랜잭션 취소하기
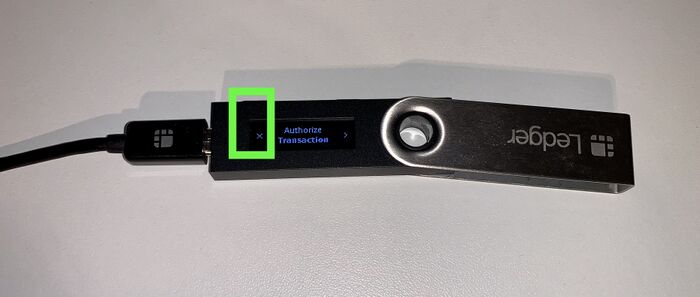
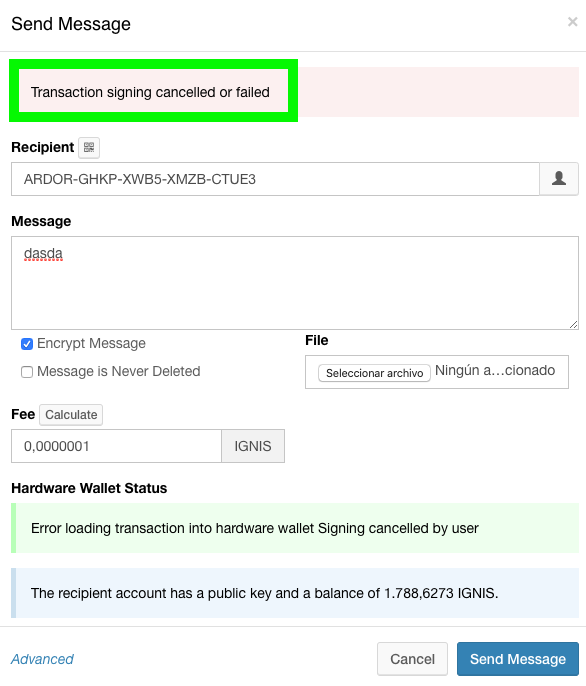
Ardor 지갑으로 트랜잭션이 제출되었다면, Ledger Nano S의 좌우 버튼을 눌러 "Authorize transaction"로 이동 하신다음, "x" 기호 바로 아래의 왼쪽 버튼을 클릭하십시오.
Ardor 지갑은 다음과 같은 메시지를 보여 줄 것입니다 :
다른 트랜잭션 전송의 경우
Ledger Nano S에서 실행 할 수 없는 일부 트랜잭션들이 있으며, 대상들은 다음과 같습니다 :
Ardor 지갑에서 실행되는 나머지 트랜잭션들은 토큰을 전송하는 것과 동일한 방식으로 Ledger에서 전송 할 수 있습니다.
Ardor 지갑 사용
문의
- 지원 : 커뮤니티 Slack의 #Helpdest 채널, 홈페이지의 지원 시스템
- 이름 : Kristina Kalcheva
- 법인 : Jelurida Swiss SA.
- URL: jelurida.com

