Tutorial on setting up the ardor testnet
This tutorial provides details on how to download the Ardor testnet so that you can begin experimenting with new feature releases, such as Transaction Vouchers and Turing-complete Lightweight Contracts.
Downloading the Testnet
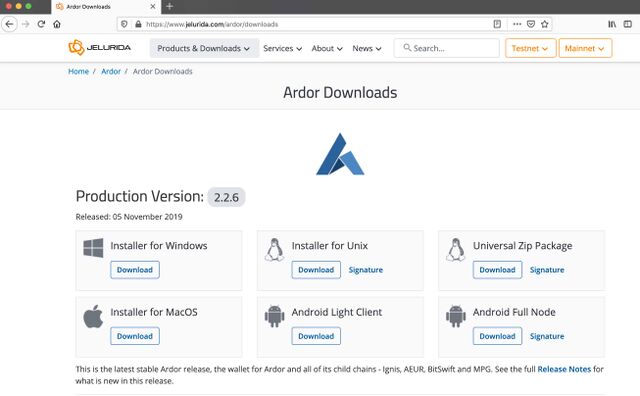
Open your web browser and type in https://jelurida.com and you will land on the page pictured below.
Scroll down on the homepage until you reach the “Ardor Downloads” section with various download options for different operating systems. If a experimental version is co-existing with the stable version, you will notice two version for each operating system, a stable release and an experimental release.
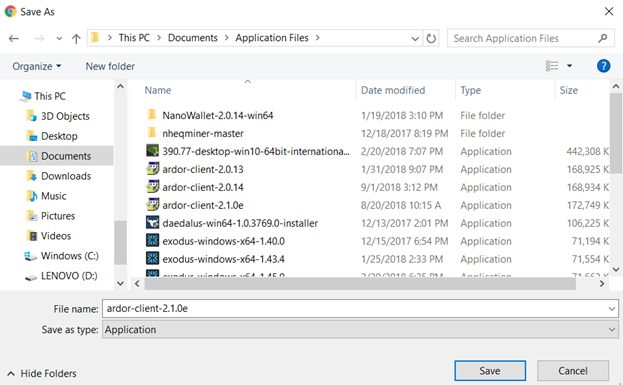
Click on the “Installer” for the latest experimental release for your operating system, and save the application to your desired destination on your computer.
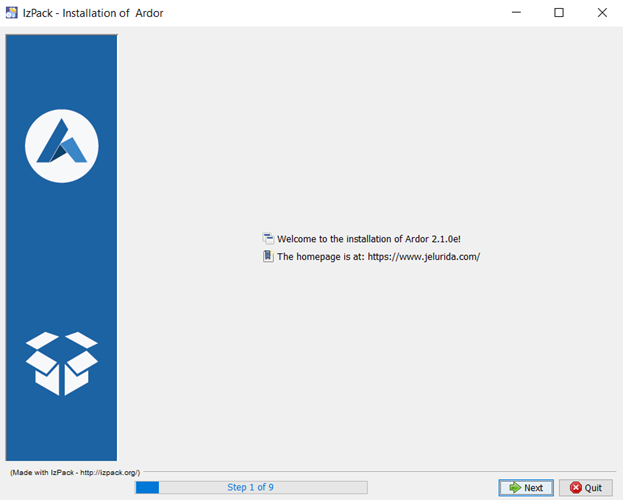
Navigate to wherever you saved the Ardor Client, and open the installer. You may get a notification asking for permission to allow the client to install, click “yes.” The file will extract, and then you will select your language and click “ok.” You land on a page that looks like this:
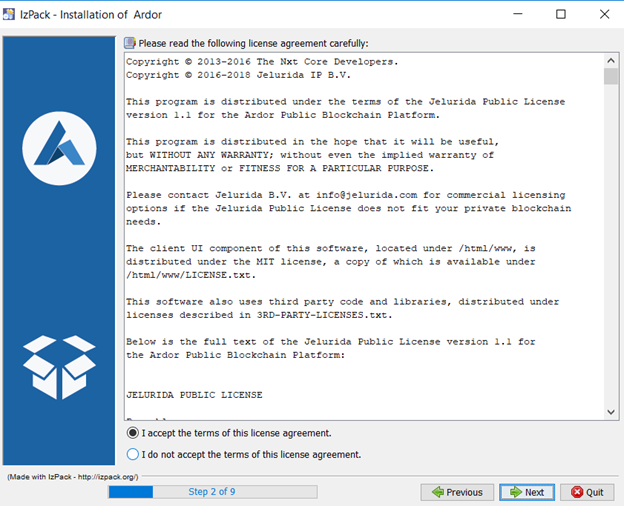
Click “Next” and you land on a page with the license agreement.
Read the agreement. If you agree, select “I accept the terms of this license agreement,” and click “Next.”
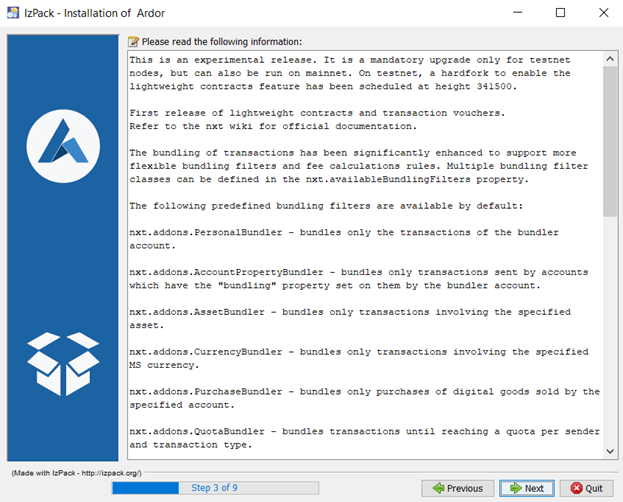
This page gives you some extra information on bug fixes. Click “Next.”
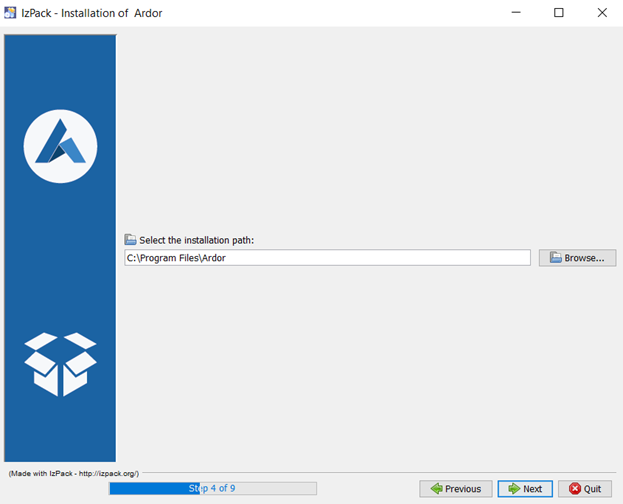
You need to select the destination on your computer for the Ardor Client application, then click “Next.”
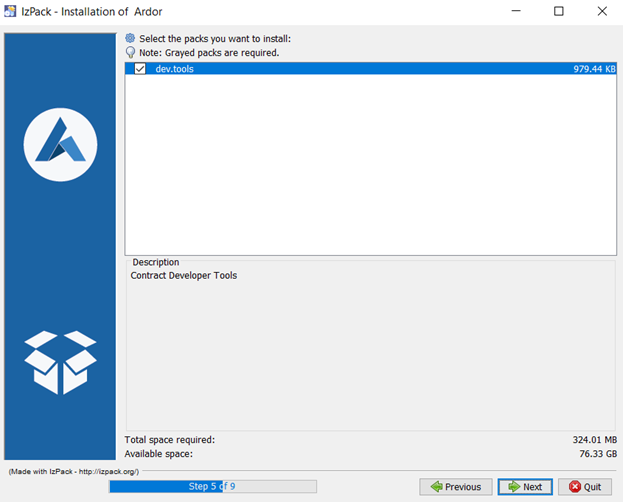
Step 5 of the installation process shows you the developer tools that come built-in to this version of the Ardor client. Click “Next.”
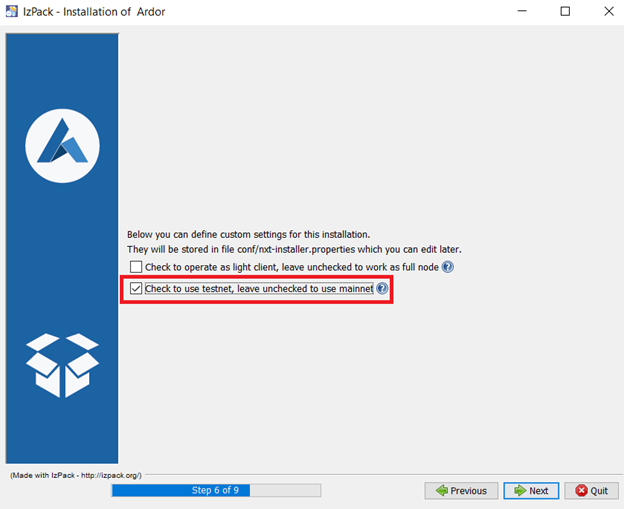
On this page, you can decide whether to run the full client, the light client, or the testnet. You should click the box next to the “testnet” option.
Then, click “Next.”
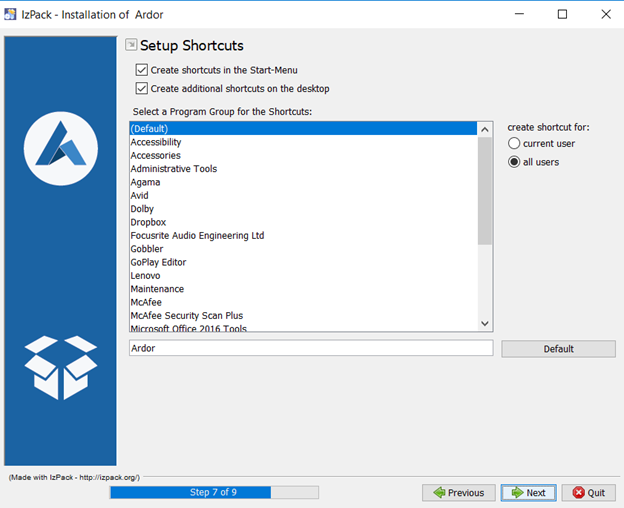
Click “Next.”
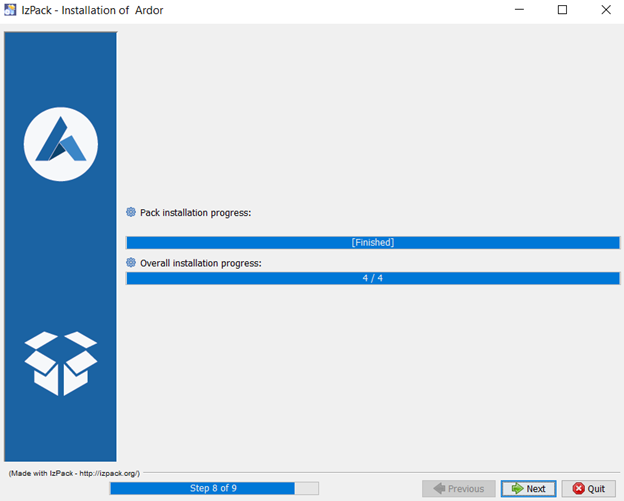
Allow the application to download, then click, “Next” and you are done!
Continuing learning with the Testnet
The experimental Ardor Client is now installed on your computer. If this is your first time using the testnet, you will need to create a testnet account. The process is essentially the same as creating a normal account, as explained in the How to create an account on the Ardor Platform. Once you have created a testnet account, you can request testnet coins (fake Ardor and Ignis tokens) using an external faucet like [this one]. Continue learning how to create your first Transaction Vouchers and Lightweight Contracts with the feature description, the articles from Lior Yaffe.


