Set up a public node on a VPS
Introduction
This guide explains the steps needed for setting up a public node on a VPS (Virtual Private Server). All the providers are similar and they have their own "help" documentation for setting up a server. In this tutorial, we will use the FreeBSD operating system, but other Linux operating systems will work too (e.g. Debian or Ubuntu)
Sign up for a VPS (Virtual Private Server)
There are many providers, for instance:
Example with Digital Ocean
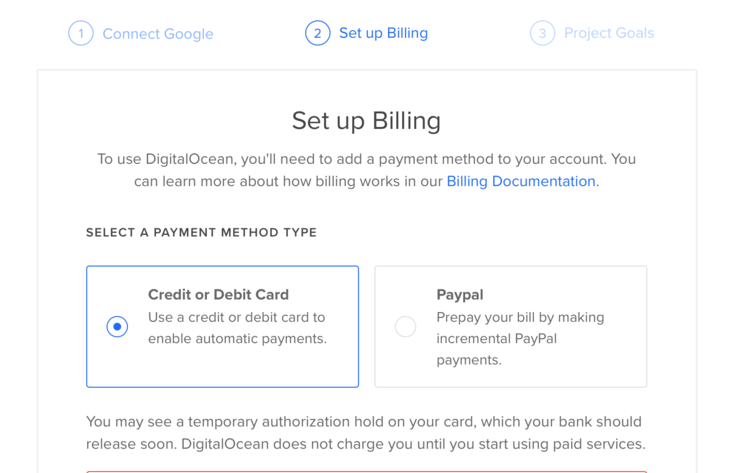
Go to the Digital Ocean web and click the Sign Up button. Fill all the data, including the billing information:
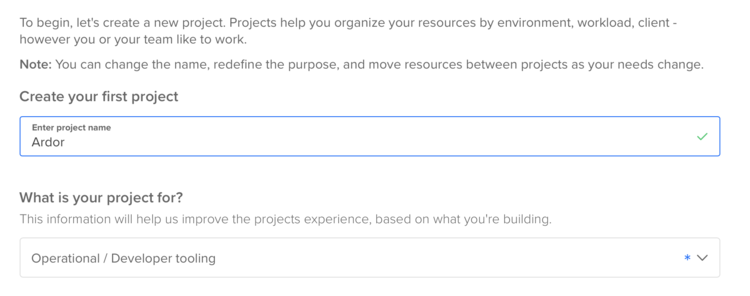
Complete all the steps and follow the wizard to create a project as shown in the following image:
Select a VPS package that meets the minimum requirements for running an Ardor node
The minimum requirements are as follows:
- 1 GB of RAM (2 GB recommended)
- 10+ GB of disk space
When choosing a server, please remember reliability is more important than price. When forging or participating in a node reward program and your Ardor goes offline, you will potentially miss out on payouts which would be more than your VPS cost.
Example with Digital Ocean
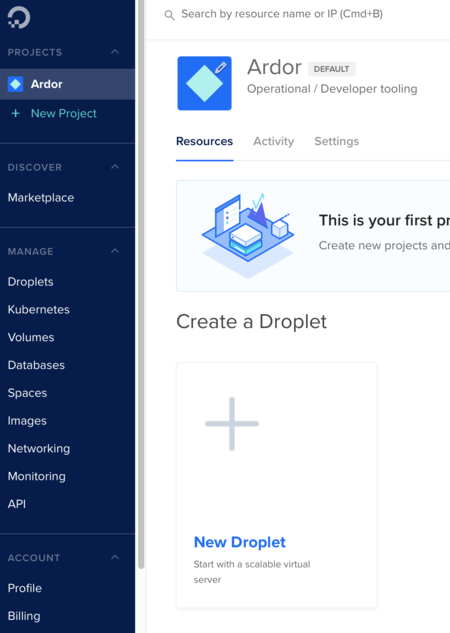
Once you are logged in and your project in already created, click on the "Create Droplet" option:
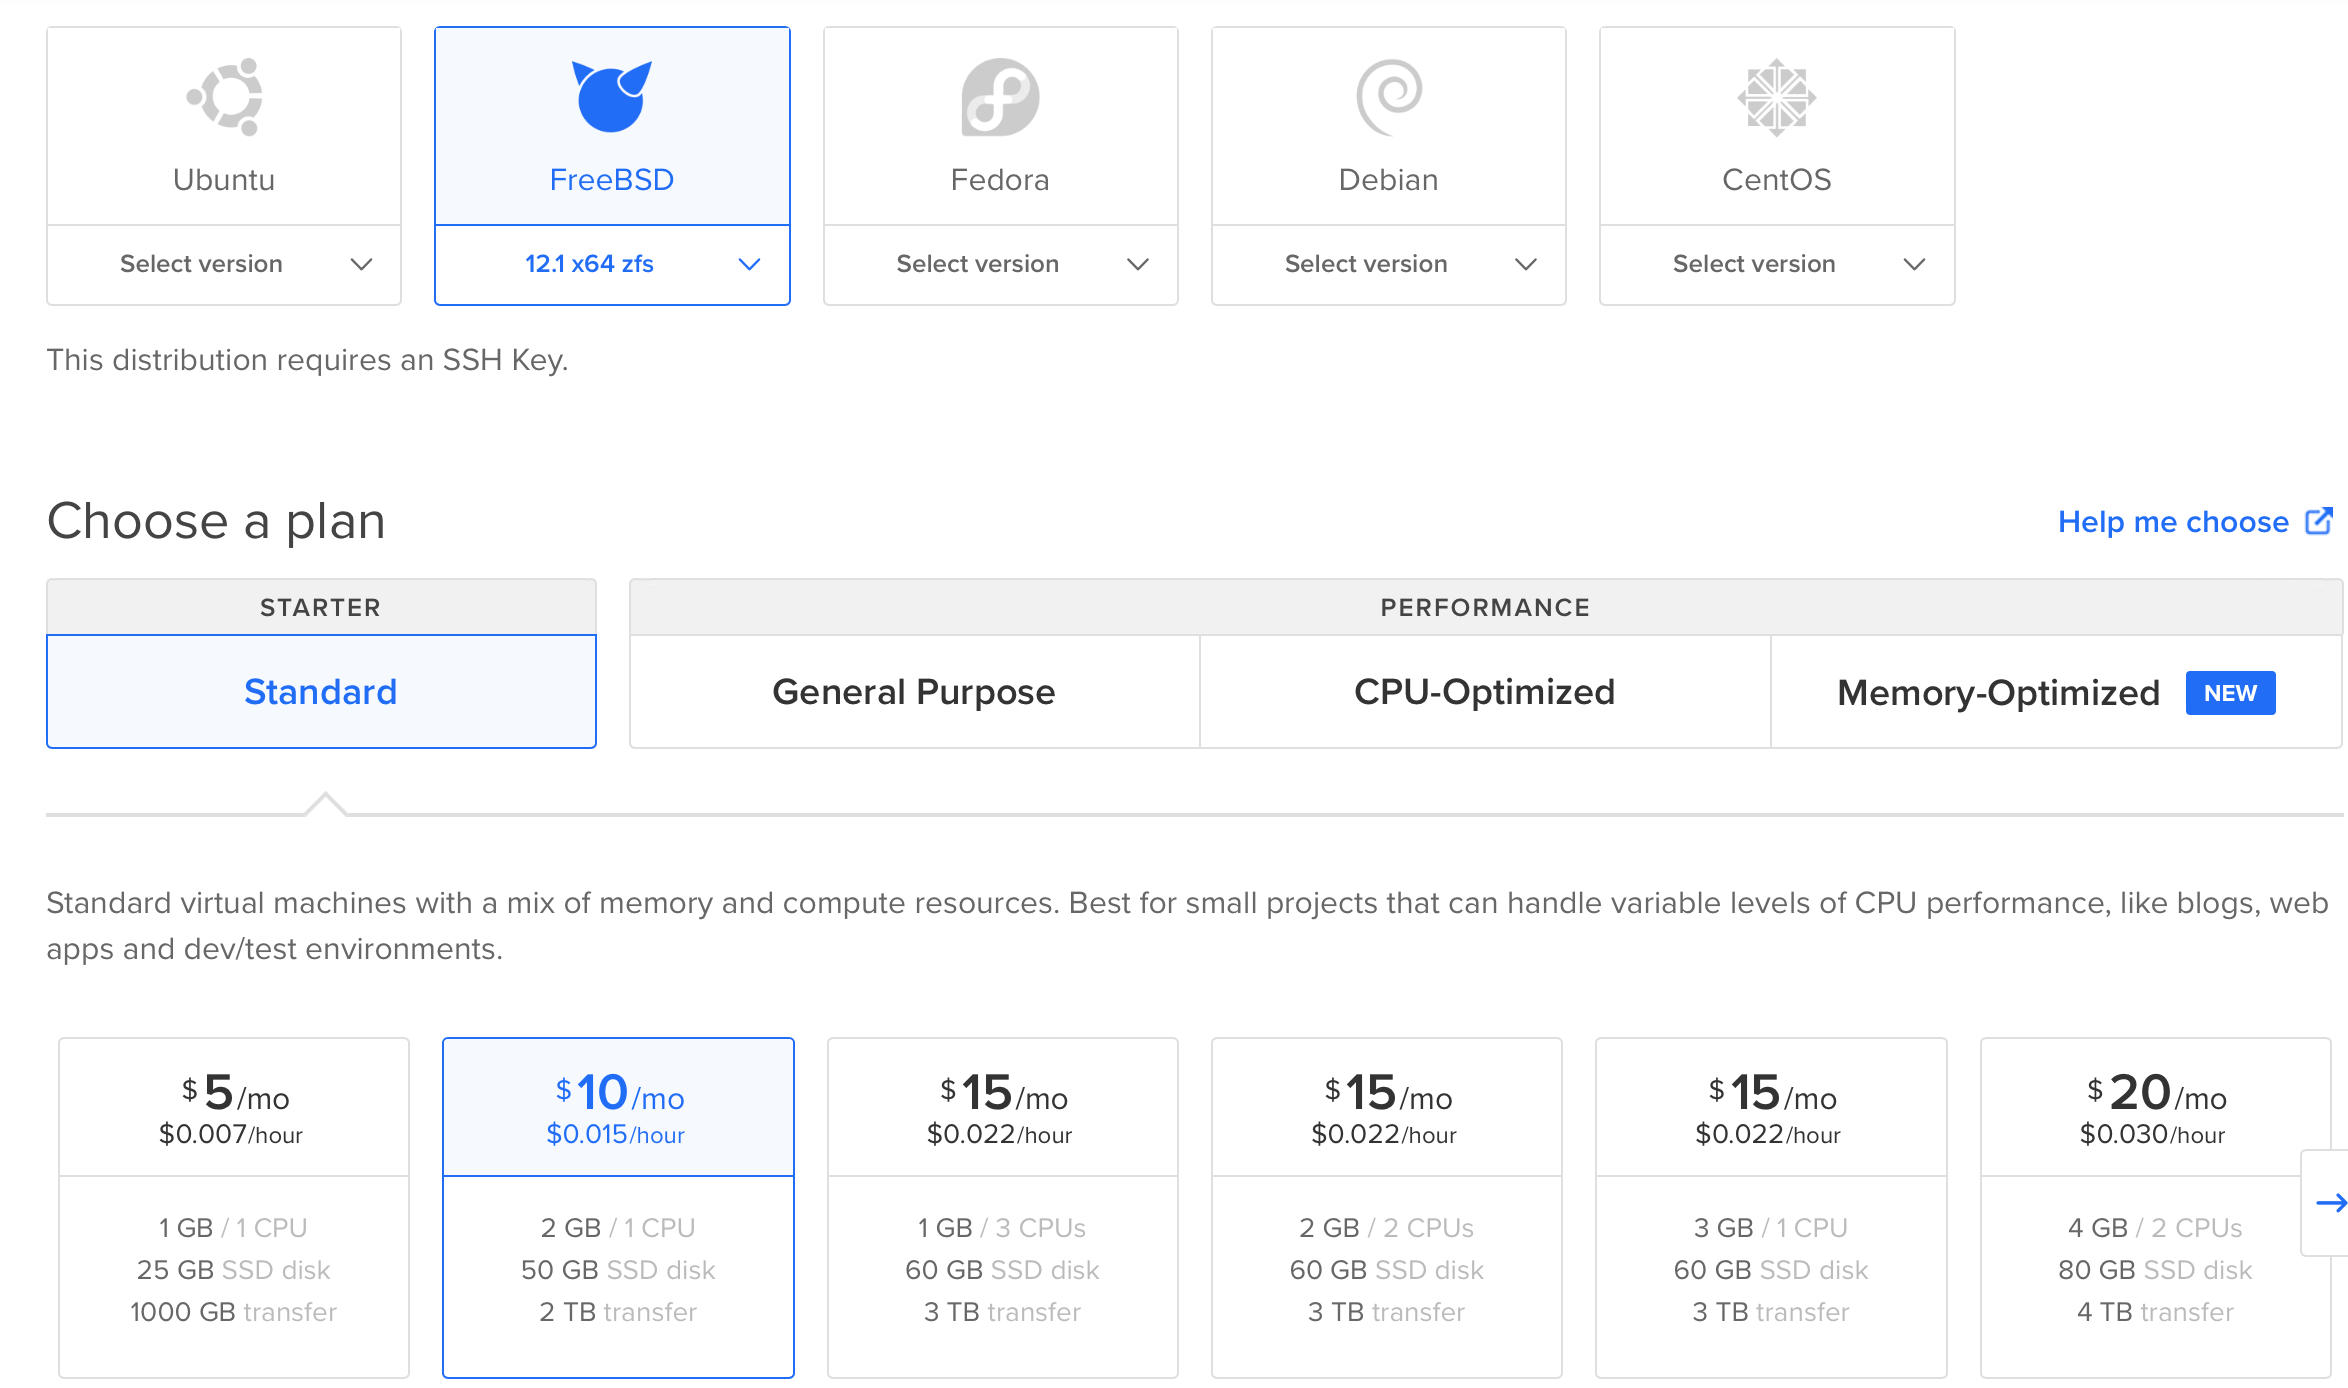
In this example, we will use the FreeBSD operating system. For instance, select the Distribution FreeBSD 1.21 x64 zf and the standard plan. In this example we will use the 2 GB of RAM and 50 GB of SSD option although the first option of the image (1 GB of RAM and 25 GB of SSD) works as well:
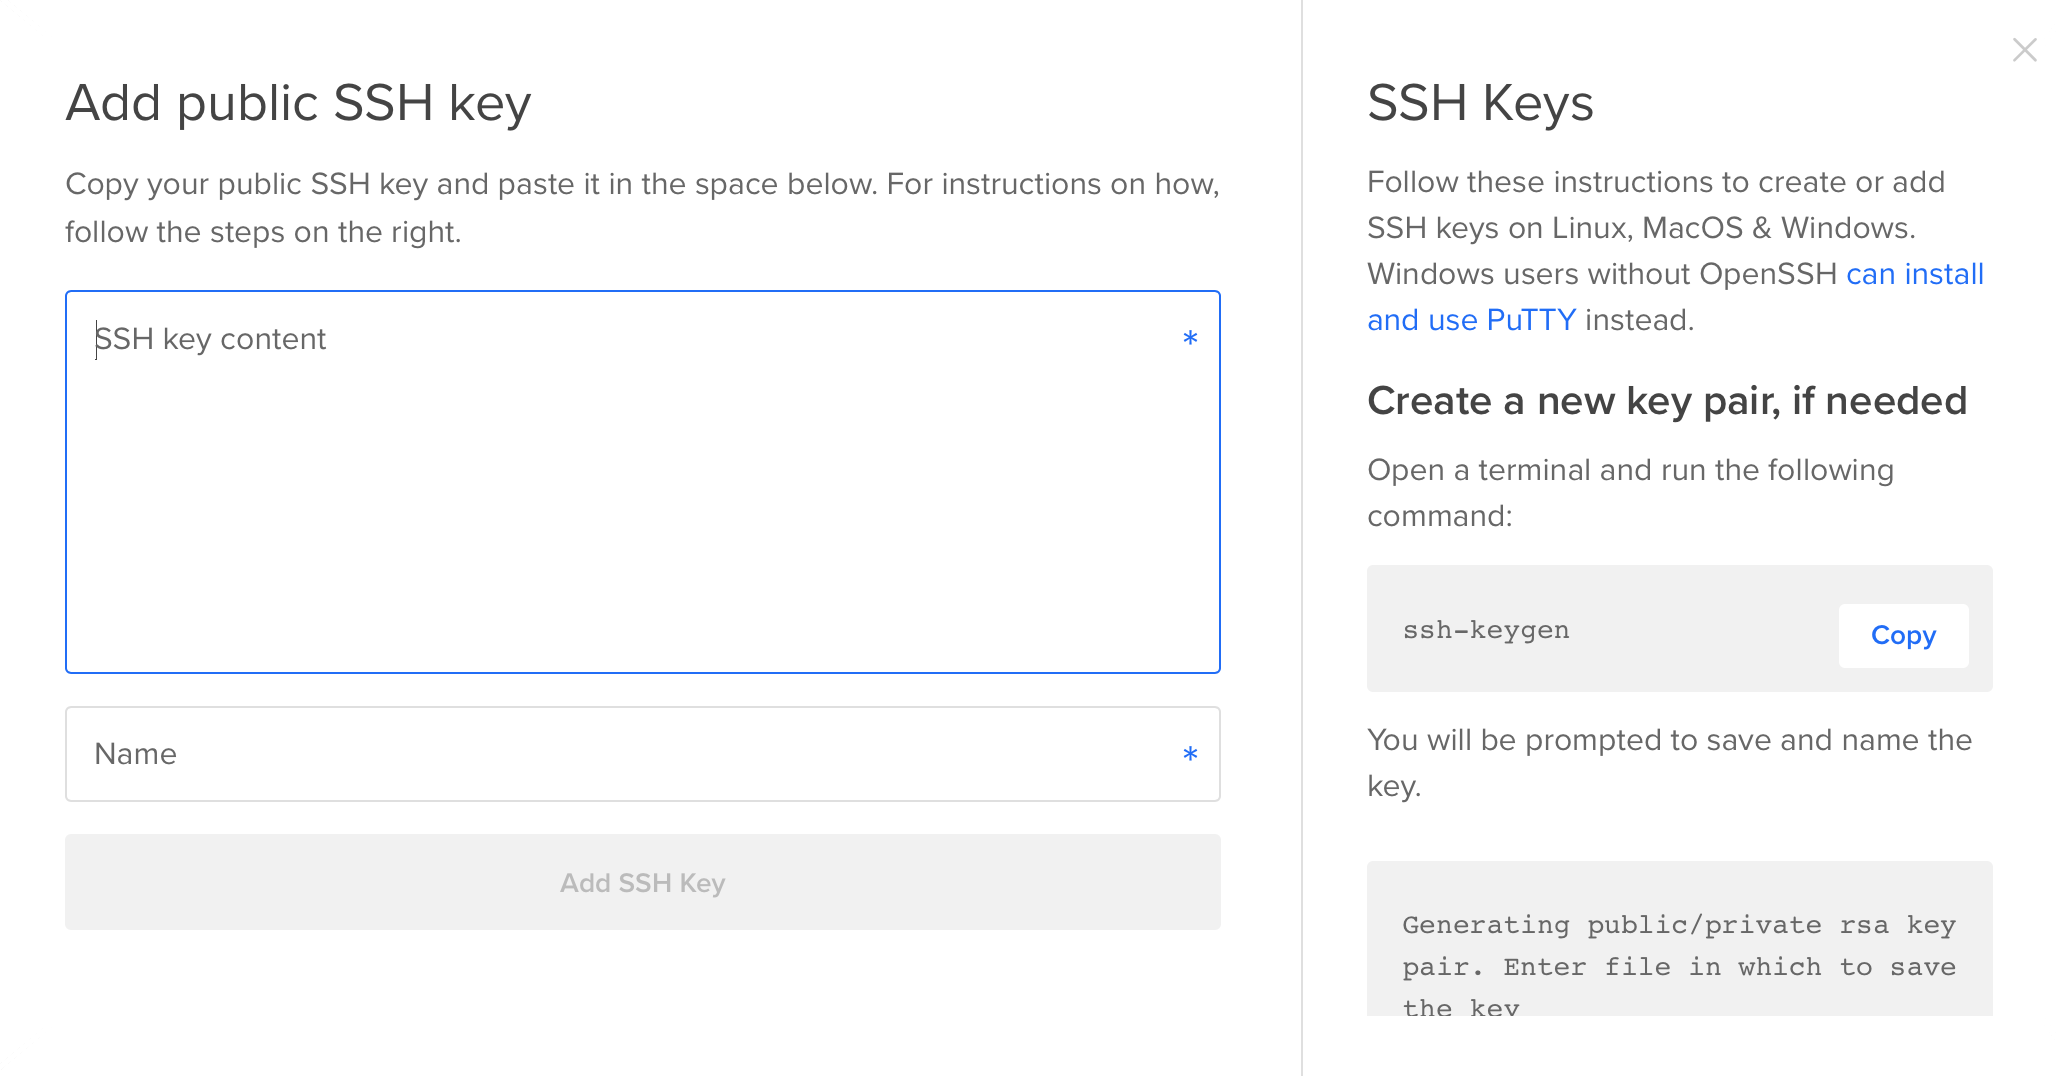
During the process you can add your SSH key for connecting to your VPS:
You can add the SSH key afterward following the tutorial: "How to configure ssh key-based authentication"
The final "Create droplet" button will deploy your VPS:
Use SSH to connect to your VPS
Once created, use the connections details from your VPS provider (IP address and username) to connect to your VPS.
- Windows: Download Putty and configure it to connect to your VPS. You can also use Windows PowerShell if it's available on your computer.
- MacOS: You can use your Terminal application, which is built into macOS
- UNIX system: You can use any shell
Example with Digital Ocean
Click on the Droplets and you will see the VPS you have already created. The IP address is shown as follows:
Connect to your VPS
- Using putty: Open it, input the IP Address of your VPS into the Host Name field, add the SSH key configuration, as user type freebsd and select open.
- Using a terminal or a UNIX shell: use ssh to connect to your server by typing ssh freebsd@{IPAddress}, where {IPAddress} is the address of your VPS. The ssh keys have to be already configured.
You will see a welcome page like the following:
FreeBSD 12.1-RELEASE-p2 GENERIC

Welcome to FreeBSD!

Release Notes, Errata: https://www.FreeBSD.org/releases/
Security Advisories:   https://www.FreeBSD.org/security/
FreeBSD Handbook:      https://www.FreeBSD.org/handbook/
FreeBSD FAQ:           https://www.FreeBSD.org/faq/
Questions List: https://lists.FreeBSD.org/mailman/listinfo/freebsd-questions/
FreeBSD Forums:        https://forums.FreeBSD.org/

Documents installed with the system are in the /usr/local/share/doc/freebsd/
directory, or can be installed later with:  pkg install en-freebsd-doc
For other languages, replace "en" with a language code like de or fr.

Show the version of FreeBSD installed:  freebsd-version ; uname -a
Please include that output and any error messages when posting questions.
Introduction to manual pages:  man man
FreeBSD directory layout:      man hier

Edit /etc/motd to change this login announcement.
To determine whether a file is a text file, executable, or some other type
of file, use

	file filename
		-- Dru <genesis@istar.ca>
$
Configure your VPS
After connecting to your VPS, some tasks are recommended such as the configuration of a firewall and the creation of a user.
Follow the documentation and recommendations of your VPS provider.
In this guide, we will use the user "freebsd" and we will not configure the firewall. The following link explains how to do this such task:
Recommended steps for new freebsd 10.1 servers
Install Java
Ardor requires Java. Execute the following commands:
$ sudo pkg update
List the Java packages
$ pkg search ^openjdk
openjdk-7.161.01,1             Java Development Kit 7
openjdk-jre-7.161.01,1         Java Runtime Environment 7
openjdk11-11.0.5+10.1          Java Development Kit 11
openjdk12-12.0.2+10.3_1        Java Development Kit 12
openjdk13-13.0.1+9.1           Java Development Kit 13
openjdk8-8.232.09.1_1          Java Development Kit 8
openjdk8-jre-8.232.09.1_1      Java Runtime Environment 8
Choose the latest Java Runtime Environment. In this case is openjdk8-jre-8.232.09.1_1
Execute:
$ sudo pkg install openjdk8-jre-8.232.09.1_1
and follow the instructions. Java is ready to be used in your VPS.
Install the Ardor software
Download the Ardor latest release from the Jelurida web:
wget https://www.jelurida.com/ardor-client.sh
You can verify that the software is authentic by checking its signature
After the download, execute the installation by issuing the command as follows:
$ sh ardor-client.sh
Follow the instructions, accept the license and when it the installation is completed it will prompt the message Installation was successful Application installed on /usr/home/freebsd/Ardor
Get into the Ardor folder
$ cd Ardor/
At this point, the Ardor software is installed.
Download the blockchain database to speed up the process
In order to speed up the process of synchronization, it is recommended to download the blockchain database.
In the Ardor folder, execute:
$ wget https://www.jelurida.com/Ardor-nxt_db.zip
the blockchain database will be downloaded
Saving to: 'Ardor-nxt_db.zip'

Ardor-nxt_db.zip                                   100%[==============================================================================================================>] 460.49M  46.2MB/s    in 11s

2020-04-02 23:10:20 (41.6 MB/s) - 'Ardor-nxt_db.zip' saved [482857244/482857244]
Unzip the file:
$ unzip Ardor-nxt_db.zip
After the successful unzip of the file, you can delete the Ardor-nxt_db.zip file with the command rm Ardor-nxt_db.zip
Configure the nxt.properties
Navigate to the configuration folder of the Ardor installation. In this example it is /usr/home/freebsd/Ardor/conf
Create the file nxt.properties with your favourite editor (ie: vi, nano, pico).
Add the following configuration parameters:
nxt.apiServerHost=0.0.0.0
nxt.allowedBotHosts=*
nxt.maxPrunableLifetime=-1
nxt.includeExpiredPrunable=true
To participate in the Node Reward Program, please check the instructions to get the token and add it to the nxt.properties file
nxt.myPlatform=Your token value here
Save the file.
Launch the Ardor node
Navigate to the Ardor folder (ie: /usr/home/freebsd/Ardor) and execute the software:
./run.sh --daemon
Check the logs to be sure that the Ardor node was successfully executed.
Open the URL http://[your VPS IP Address]:27876 in your browser. The Ardor UI will appear.
Check that the node is visible to the network
Open the Jelurida Peer Explorer and check that your node appears visible to the network. Keep in mind that it may take several minutes.
Optional: Configure SSL
It is possible also to configure SSL. Check the advanced guide for configuring HTTPs

