How to create an account on the Ardor Platform
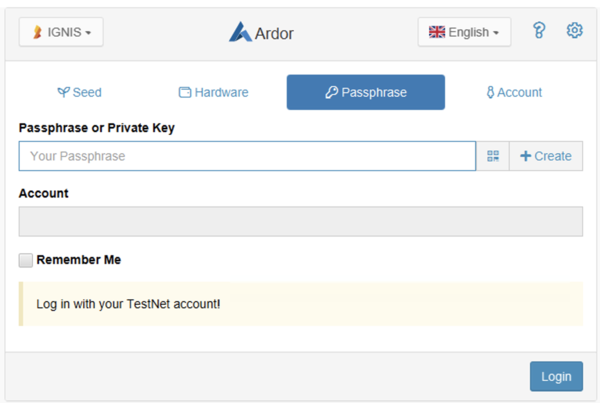
Note: Since version 2.3.0e the login page has been redesigned, please refer to the Login Page Tutorial. This guide provides instructions for creating and accessing Ardor accounts through the Ardor Client Wallet. Since the version mentioned this article is similar to the option tab "Passphrase" as follows:
This information is a modified version of the video demonstrations
If you would like to create an account by following this tutorial, you will need to download the Ardor Client from the Jelurida website. An article explaining the download process is available How to download the ardor client wallet.
Creating a new account
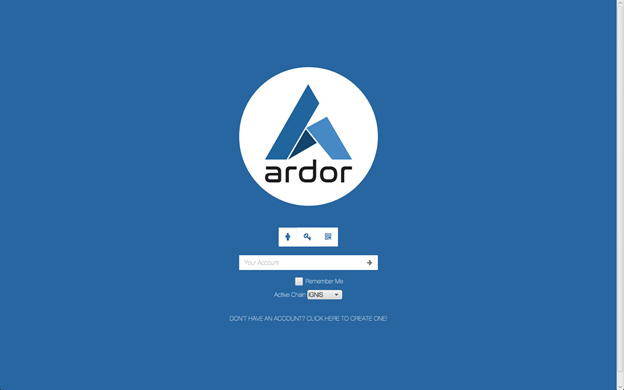
Open the Ardor Client Wallet on your computer. It will look similar to the image below:
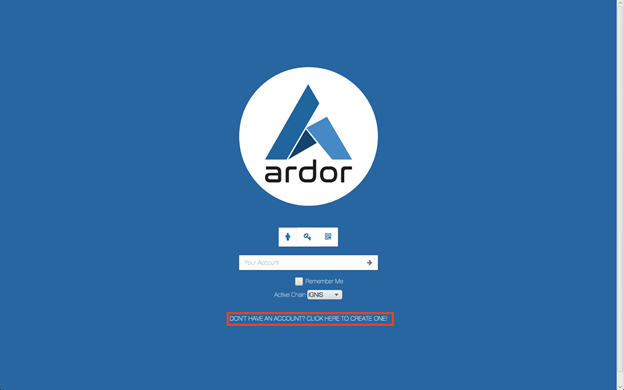
Now, click the “Don’t have an account? Click here to create one!” button.
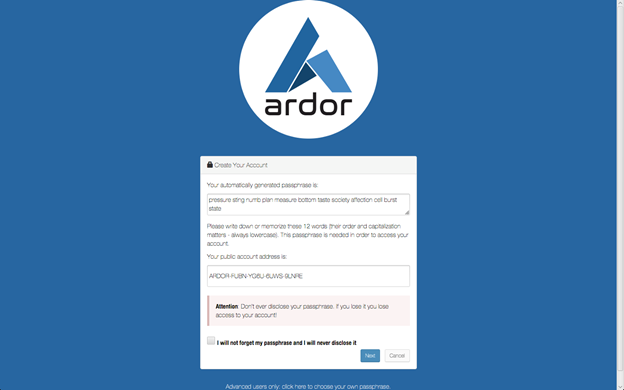
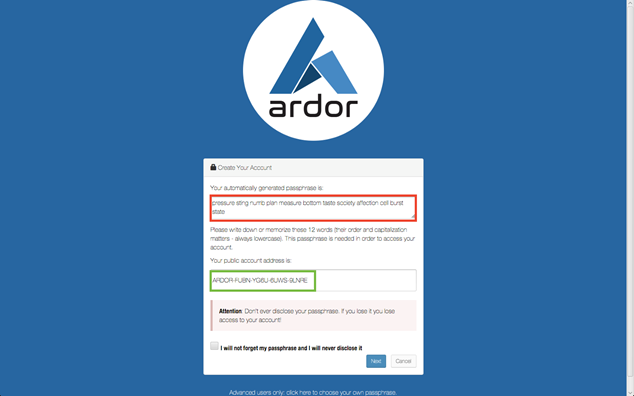
A new page appears that looks like the image below:
Your passphrase (indicated in red in the image below) is your secret password for accessing your account. More importantly, though, this passphrase is equivalent to your social security number on the blockchain. You can use it to log in from any computer or device. This means anyone with access to your passphrase has the ability to control your funds. For this reason, it is essential to keep this information safe. It is recommended that you write down your passphrase and keep it in a safe place. It is NOT recommended to store your passphrase on your computer because if your computer security is compromised, then access to your Ardor funds would also be at risk.
The next piece of information is your public account address (indicated in green). You will want to write this down as well. This is the address you will use to send Ardor funds to yourself from an exchange. You can also give this to friends and they can send crypto to you. Since all child chains are interoperable with Ardor, this means that if you send Ignis funds to your Ardor address in the Client Wallet, you will still receive them.
Caution: When sending funds to an exchange or between exchanges, many exchanges are more strict and, despite the built-in interoperability, they require you to use separate addresses when dealing with Ardor and any of its child chains. Some require messages to be included. Make sure to follow instructions when moving funds to and from exchanges. See the Transaction Voucher feature, which helps to mitigate some of those risks.
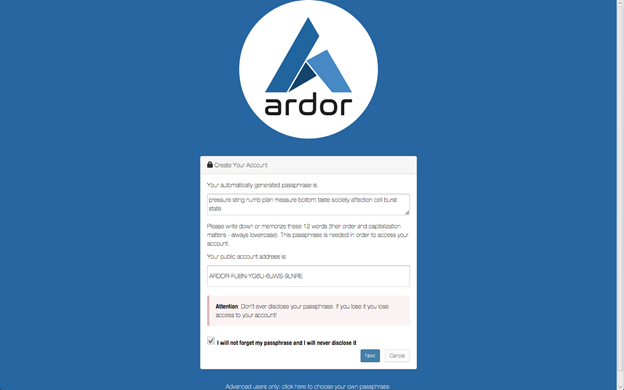
Once you have written down your passphrase and public account address, check the box next to the statement saying, “I will not forget my passphrase and I will never disclose it,” and click “Next.”
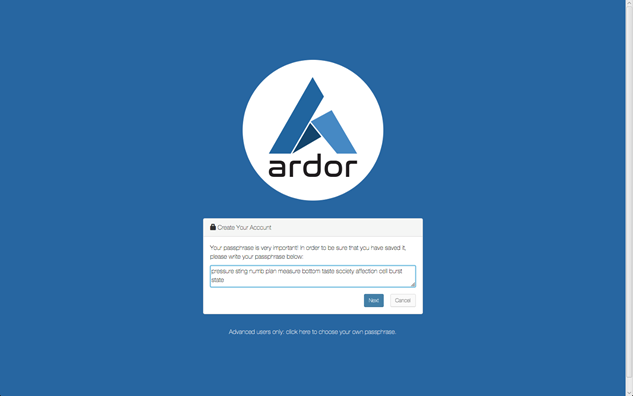
You land on a page requesting that you enter your passphrase to confirm that you saved the details.
Enter your passphrase and click “Next.” Caution: Never send funds to the address that is being used in this example. The passphrase in the image above is public, which means anyone can access funds stored there.
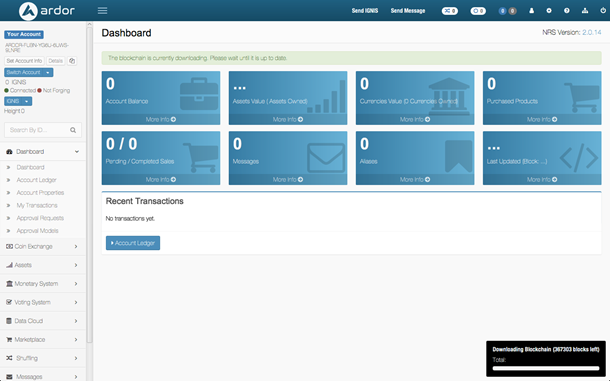
You are now logged in. The first thing you see is the Dashboard for the Ignis child chain. You will need to allow time for the full blockchain to download if this is your first time accessing the Full Client Wallet. (Note: some operating systems prevent you from logging in until the blockchain has downloaded — in this case, simply stay connected to the internet and allow the wallet time to synchronize. If this takes too long, consider re-downloading the Client Wallet and selecting the option to run as a Light Client — this will prevent you from forging but you will have access to most other functions).
Continue with a tour of the basic features
Continue this guide through the Ardor and Ignis ecosystems with a tour of the basic features of the Ardor parent chain and the Ignis child chain

