Connect Ledger Nano S or Nano X to your Ardor Wallet
The Ardor blockchain platform has released an application for the Ledger hardware wallet. It is directly supported in the desktop wallet and the browser wallet.
Install the Ardor app on your Ledger device to manage Ardor and child chain tokens using the Ardor desktop wallet. The Ardor app is developed and supported by the Ardor core team.
Requirements
The desktop wallet connects natively to the Ledger device using USB interface. It is supported on Linux, macOS, and Windows.
The browser wallet connects to the Ledger device using WebUSB. The supported browsers are Chrome, Brave, Edge, and Opera. We have also been able to connect from Chrome Mobile on Android using an OTG cable.
WebUSB only works using HTTPs, therefore you must configure the ardor wallet to support https first, see HTTPs connection support is required.
Steps
Before you start
- Ledger hardware device
- Initialize your Ledger device.
- Install the latest firmware.
- Login to Ledger Live.
Install the Ardor app
- Open the "My Ledger" page inside the Ledger Live application.
- Connect and unlock your Ledger device.
- If asked, allow app installation on your device.
- Find Ardor in the app catalog.
- Press the Install button of the app.
- An installation window appears.
- Your device will display Processing…
- The app installation is confirmed.
Connect the device to your Ardor wallet
- Open the Ardor application on your Ledger device. The device screen will display "Application is ready".
- Install the Ardor desktop wallet by opening the file you just downloaded. Follow the instructions described in the guide Ardor wallet installation
- Launch the Ardor desktop wallet.
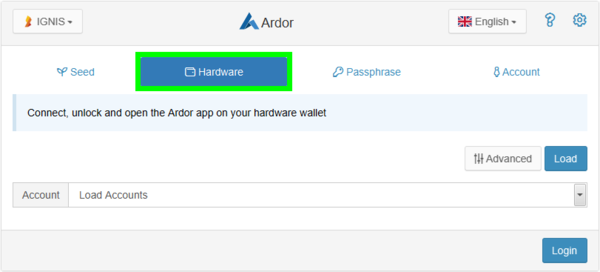
- Select the "Hardware" tab in the login page.
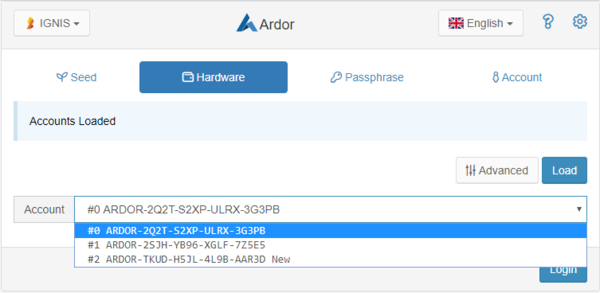
- Clicking the "Load" button will query the available accounts on the Ledger device and populate the account dropdown selector found beneath.
Select the account you want to access, the addresses that are shown with the "New" attribute means that the account is not published yet. Each time you announce a public key of an account, you will be able to create a new one.
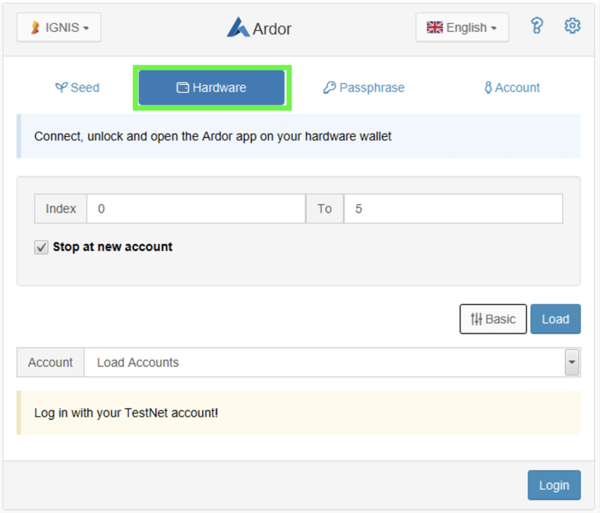
The advanced toggle shows more options for showing the derived accounts. By default, the wallet queries from the first account (index 0) until it finds the first unused account or reaches the sixth account (index 5). You can use the index bound fields, and the "Stop at new account" checkbox to control this behavior and load any possible account from your hardware device.
You can now access the Ardor wallet.
Use the Ardor wallet
Verify your address
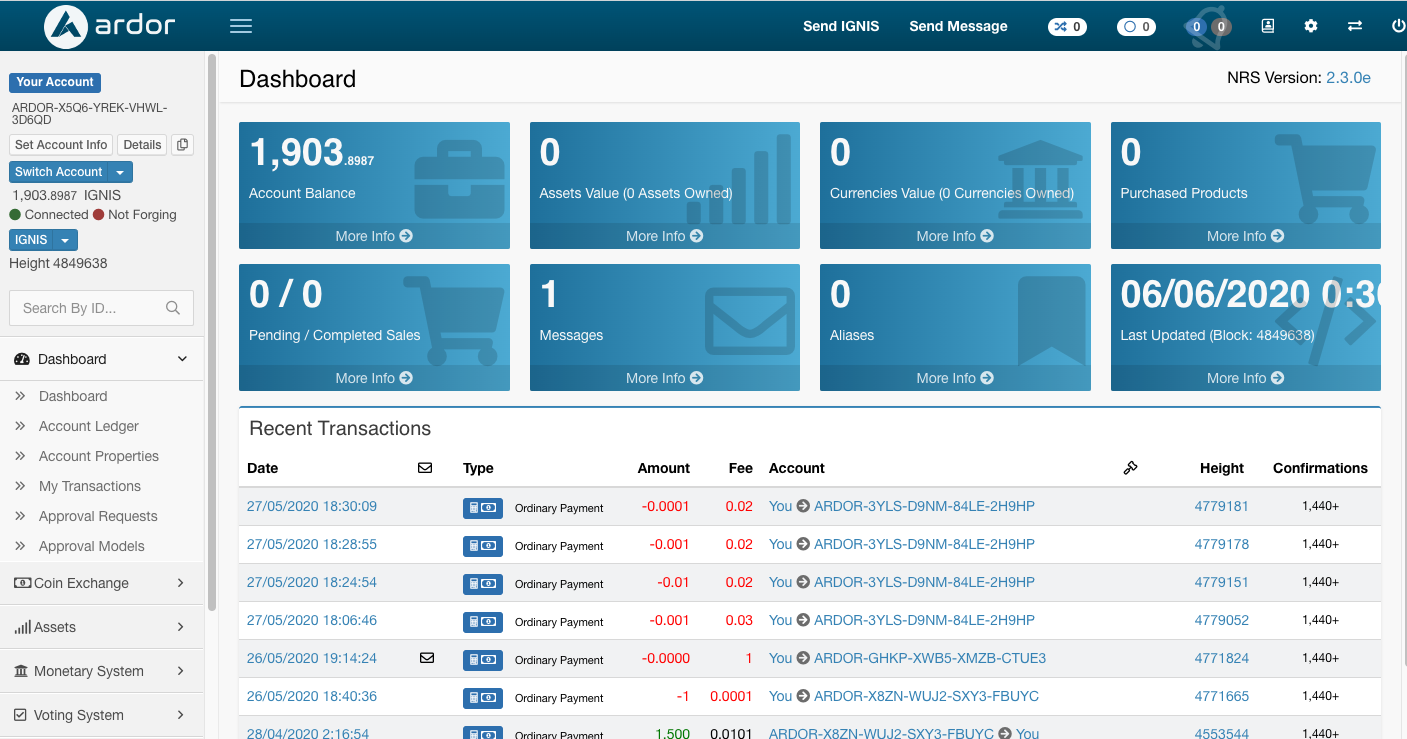
Your address is displayed on the Ardor wallet. You can use it to receive ARDR, crypto assets, and any other child chain tokens of the platform (i.e.: IGNIS). It can be used for any other transaction in the Ardor platform such as sending messages, approvals, asset issuance and buy and sell orders.
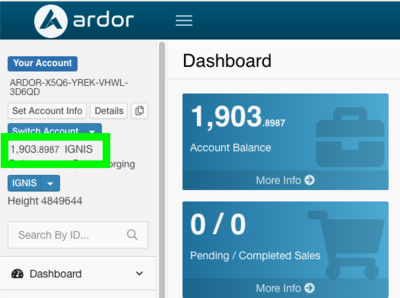
For checking your address with the Ledger wallet, click on the following link in the wallet (in green):
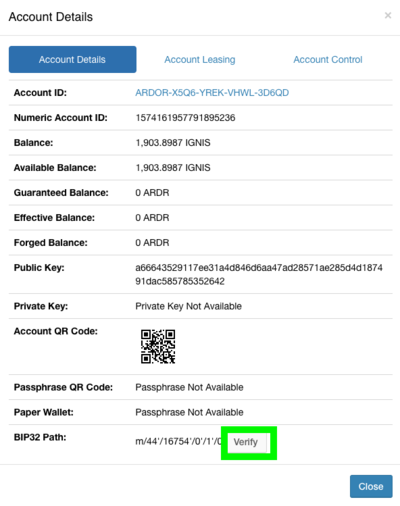
A modal pop-up will appear with the box "Verify", click on it:
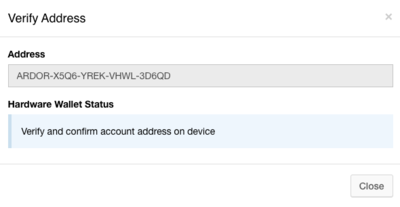
A "Verify Address" will open:
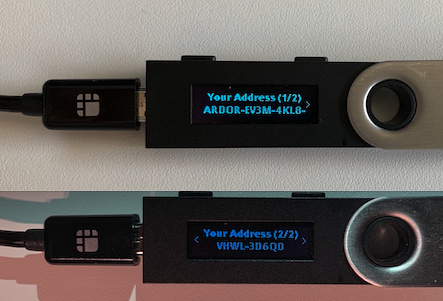
The account address will be displayed on the Ledger, click on the right button to navigate through the different pages:
Sending tokens
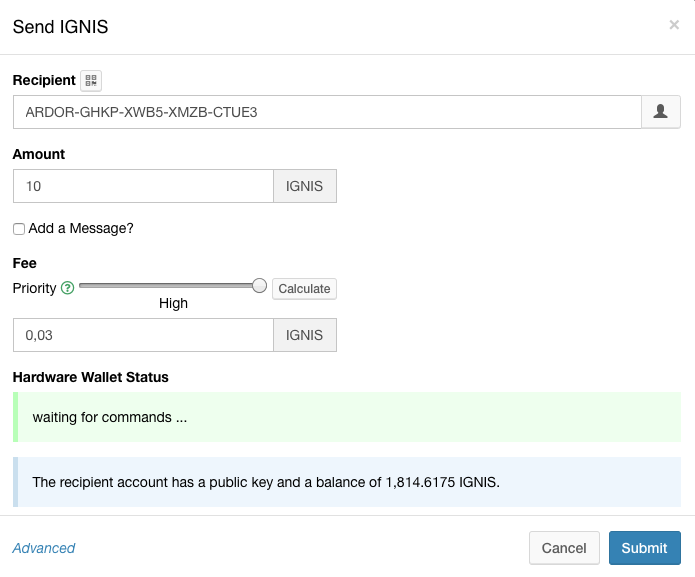
To send tokens, press Send, then enter the amount, the receiving address, click on calculate fee and finally click on the Submit button:
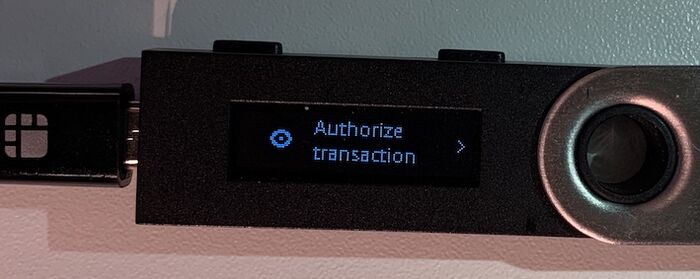
- Verify and confirm all transaction details:
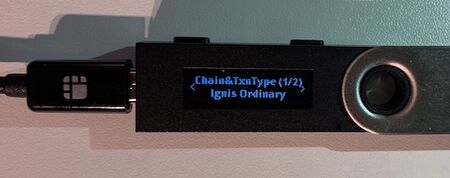
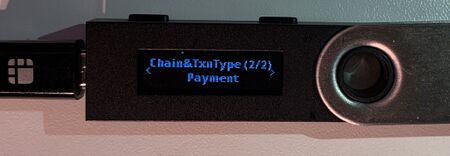
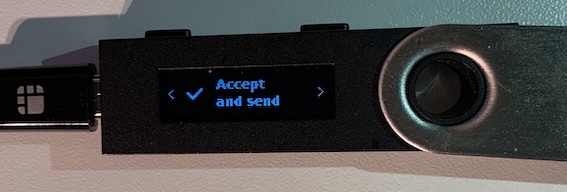
- Use the buttons on your device to navigate through the transaction details (ie: Chain&TxnType, Amount, Destination Fee, Apendages). For instance as shown in the following images:
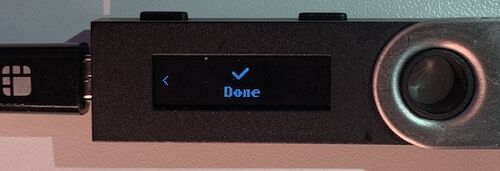
- The last two options ("Accept and send" and "Reject") allow you to accept or reject the transaction. Press both buttons at the same time to confirm the desired action.
In case the transaction has apendages, each one has a number that is power of 2. The list is the following:
- MessageAppendix = 1
- EncryptedMessageAppendix = 2
- EncryptToSelfMessageAppendix = 4
- PrunablePlainMessageAppendix = 8
- PrunableEncryptedMessageAppendix = 16
- PublicKeyAnnouncementAppendix = 32
- PhasingAppendix = 64
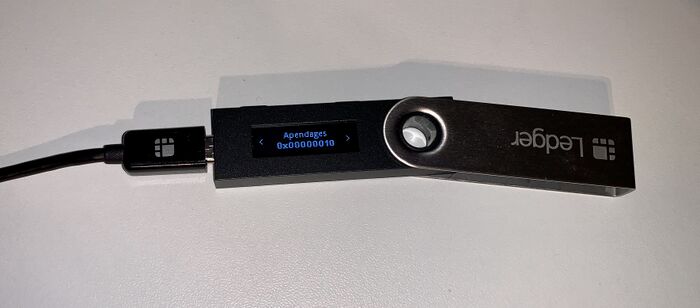
The value displayed by Ledger is a combination of these appendages in hexadecimal format. For instance:
- If a transaction has a PrunableEncryptedMessageAppendix and PhasingAppendix the value displayed by Ledger will be 16 + 64 = 80 (0x00000050 in hex).
- If the transaction has a PrunableEncryptedMessageAppendix the value displayed by the Ledger will be 16 (0x00000010 in hex) as shown in the following image:
Canceling a transaction in the Ledger device
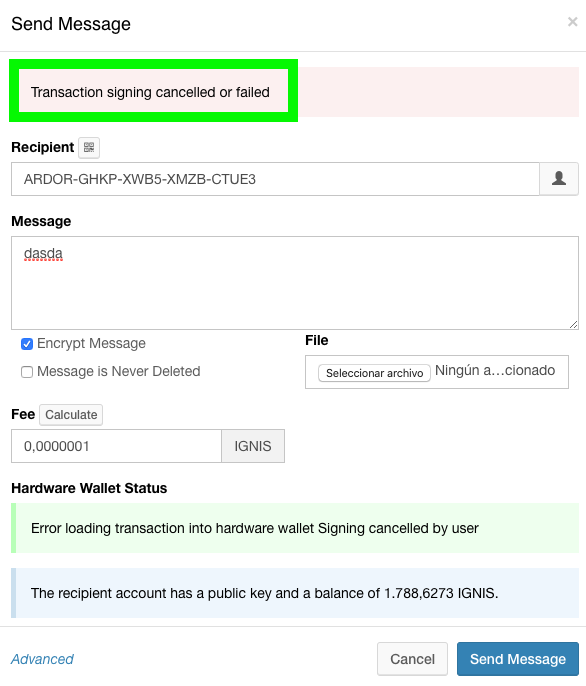
Using the device buttons navigate to the rightmost screen that says "Reject". Press both buttons on the device at the same time.
The Ardor wallet will show the following:
Limitations
When using the Ledger wallet, your Ardor wallet does not have access to the account private key; therefore, you cannot perform any operation which requires submitting your private key from your wallet to your node. This includes forging, bundling, shuffling, running and account monitor, contract runner and any other component which requires using the account private key on the node itself.
The rest of transactions that can be executed in the Ardor wallet can be performed in the same way as sending tokens.
Under the Hood
Contact info
- Support: Go to the #helpdesk channel in our slack helpdesk channel or support system:
- Name: Kristina
- Surname: Kalcheva
- Legal Entity: Jelurida Swiss SA.
- URL: jelurida.com

