Login Page Tutorial
Introduction
Since the version 2.3.0e the login page has been redesigned and has several improvements. This guide explains all the components of the login page and the process for login.
The main new feature is support to derive multiple public/private key pairs and account addresses based on the BIP32 specification.
Hardware based key derivation is currently supported by the Ledger hardware wallet.
Software based key derivation is also provided using the same specifications (BIP32, BIP39, BIP44) so that given the same seed the same key pairs can be derived. This is now the recommended account creation instead of the legacy passphrase.
The wallet defaults to the following standard BIP44 derivation paths:
m/44'/16754'/0'/0'for mainnetm/44'/16754'/0'/1'for testnet
All keys generated by the wallet are direct child keys of these paths.
The Header Bar
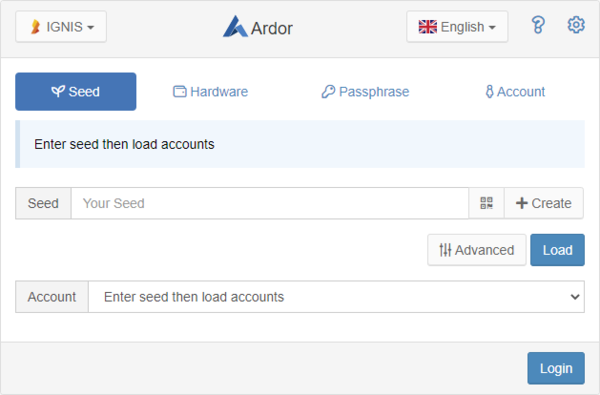
 At top of the login screen is the header bar, with the following common components for all the login options:
| Button | Icon | Function |
|---|---|---|
| Chain Selector | 
|
Clicking this button for selecting the different child chains available. |
| Language switcher | 
|
Clicking this button for selecting the different languages available in the UI. |
| Help | 
|
Clicking this button for starting the walkthrough help tour. |
| Settings and Offline actions | 
|
Clicking this button to open the modal for the Device Settings and Offline Actions |
Chain Selector
Click on the chain selector for switching to the chain selected. Once log in, it is also possible to switch to another chain. The chains available are as follows:
Language
You can select one of the languages for the user interface by selecting it using this button.
Help
When clicking on this button, the wallet walkthrough is populated. It gives a step-by-step guide for explaining all the components of the wallet. You can trigger the wallet walkthrough several times.
Cogwheel for settings
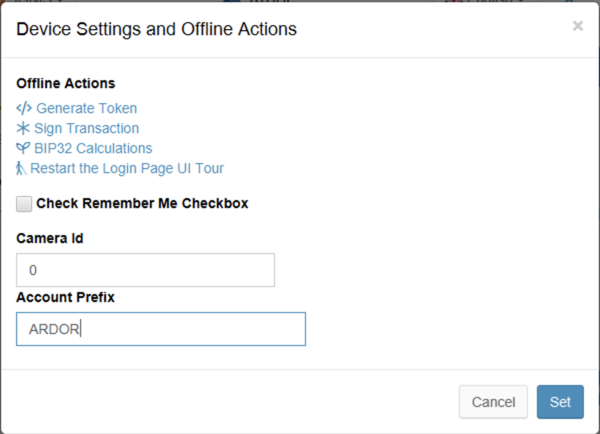
The device settings and offline actions modal is shown when clicking on the cogwheel as follows:
You can perform the following offline actions:
Generate Token
This is equivalent to the API operation Generate Token and it is also a part of the User Interface Settings Menu.
A token is a text or a website that is signed by an account, hence it is possible to validate the authenticity of the token, who is the account owner, and when it was generated.
Sign Transaction
This opens the modal for signing a transaction as the tutorial How to Offline Transaction Signing explains.
BIP32 Calculations
It opens a modal to perform BIP32 calculations.
Restart the Login Page UI Tour
Clicking on this link, it will restart the wallet walkthrough from the beginning.
Check Remember Me Checkbox
It enables or disables the Remember Me Checkbox for the session storage
Camera id
It is the index for the camera that is wanted to be used for reading QR codes
Account prefix
It enables branded customization for the account prefixes
Login options
In this section, it is explained the different login options.
Default Login "Seed"
Create a new seed
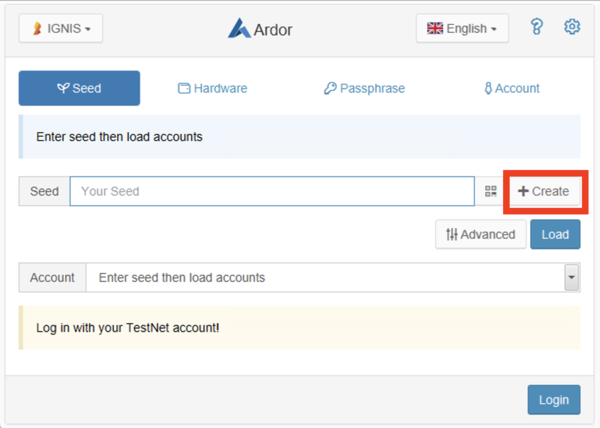
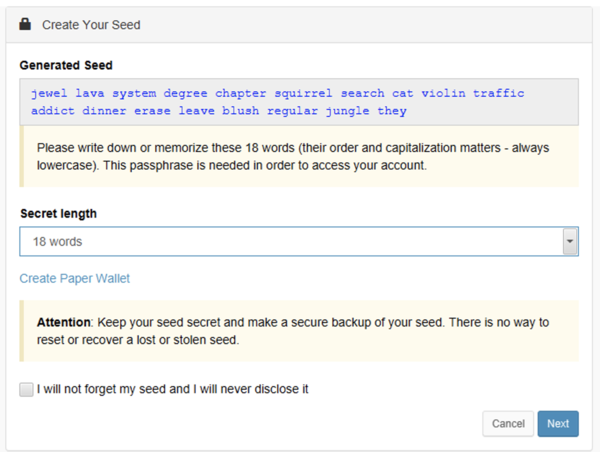
Using the Seed tab, for the login we can use a single seed from which to derive account addresses. For creating a seed, click on the + symbol to create a new seed:
A new window will appear:
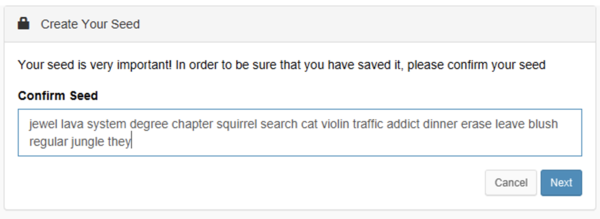
Where you can select the length of the secret and also create a paper wallet if needed. Follow the instructions and finally it is needed to type the secret again. Note: If the user loses the secret it will not be possible to be recovered.
Login
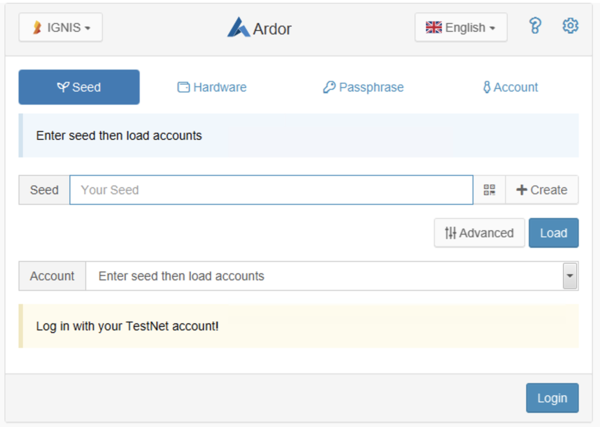
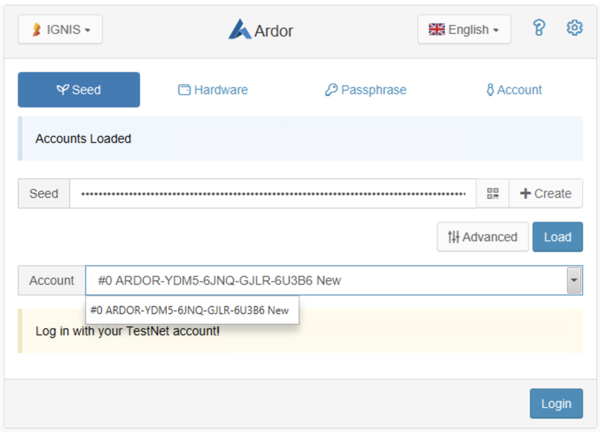
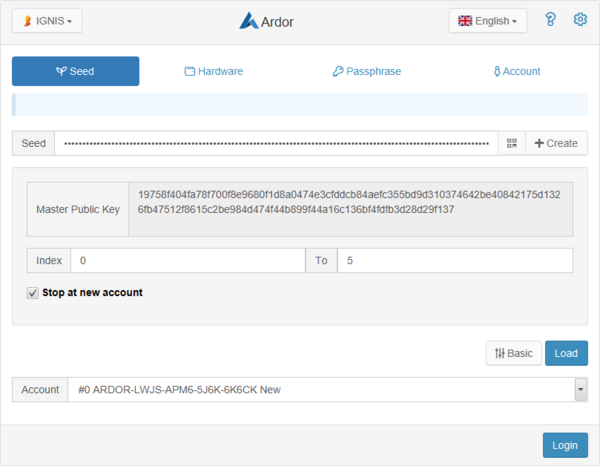
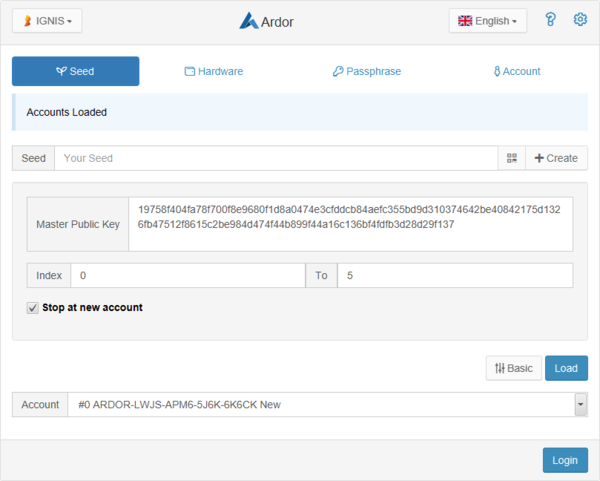
Type the secret words representing the seed from which to derive account addresses, click on the Load button and you will have access to the accounts as shown in the following image:
Where the account selector will populate all the accounts that have been initialized
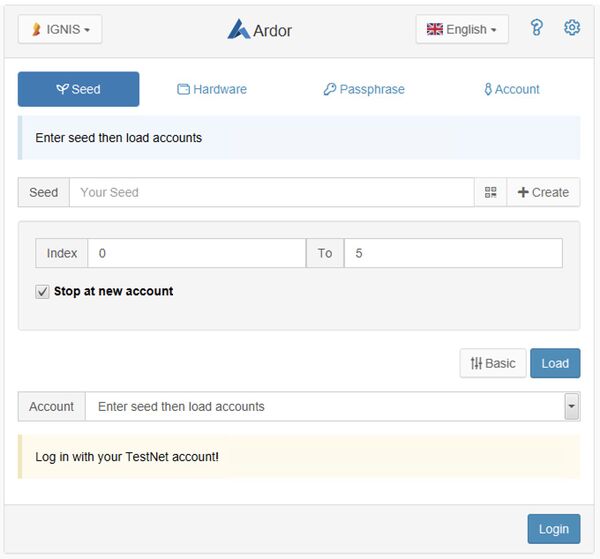
Click on the advanced button to toggle between basic and advanced account loading.
You can select the index for showing the derived accounts needed and you can also check the option for showing the accounts that have not been initialized with the "Stop at new account option"
Finally, click to load accounts based on the entered seed. Select the account to login and click the 'Login' button, the Ardor User Interface will open.
Master Public Key
The Master Public Key is a special key that allows to derive all public keys for a seed but none of its private keys (with some caveats, see the warning below).
You can find the Master Public Key clicking on Advanced on the Seed tab.
To load the accounts derived from a Master Public Key enter it into the Master Public Key textarea and clic Load.
Another very useful feature of the Master Public Key is that you can use it with a Standby Shuffler to provide it with a practically unlimited source of new accounts.
Warning
The word public is a bit misleading for a Master Public Key. If someone finds out the private key of one of your derived accounts as well as the Master Public Key then it can derive all subsequent private keys. So you should treat your Master Public Key with care and not disclose it publicly.
Getting the private key from the derived account
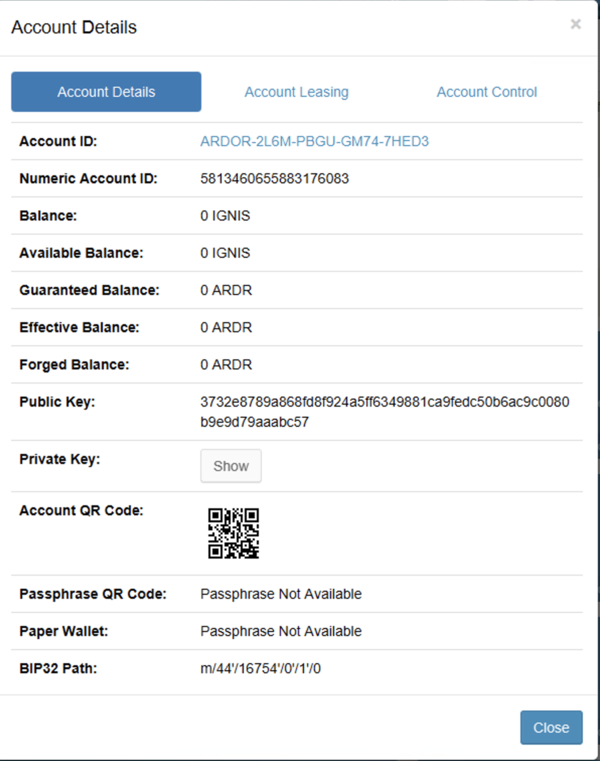
When populating the account details, it appears a field called private key with a "Show" button. This is the private key of the derived account selected from the seed.
Clicking on the "Show" button will make the Private key visible
Hardware
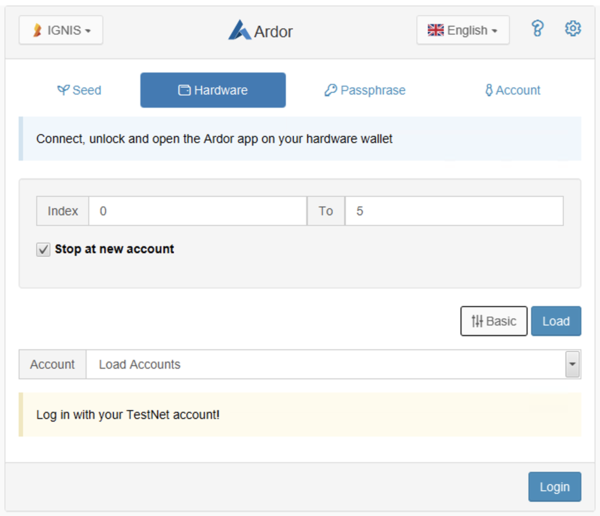
For a detailed guide to connect to a hardware wallet, follow the instructions of the Ledger Nano S/X Guide
Passphrase
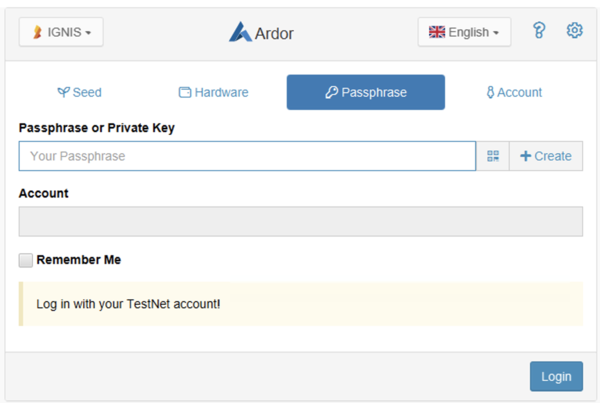
Enter the account passphrase or private key or click on the Create button to create a new passphrase. Afterward, click on login and the account field will show the public address of the account represented by the secret information entered above or 'Unknown' if the account is not registered on the blockchain yet.
Clicking on "Remember the secret" will remember the secret in memory so that there is no need to enter it again after login
Account
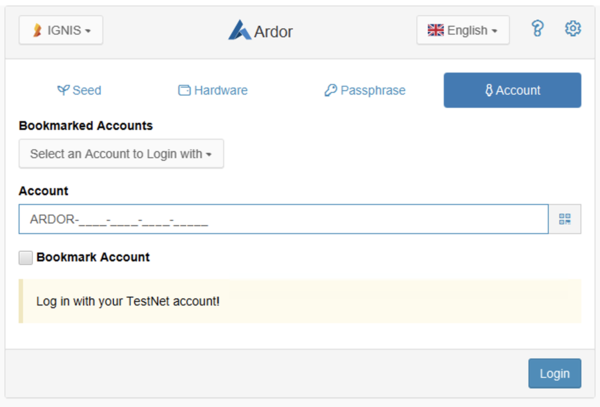
Enter the login account address. You can enter any public account registered on the blockchain.

